Online Blog > Previous Entry 4/11/2019 > 7/8/2019 - Siding and Exterior Finish in Winter > Next Entry 9/8/2019
Some people don't know that we build through all four seaons here in
North Idaho. It is a necessity, and while it does make some jobs harder,
generally almost everything can be done all year around. In this update,
we'll show what we got done on this custom home addition in the middle of
the winter months. Our last entry showed that all of the rough-ins for HVAC,
plumbing and electrical were done, and we were ready in January for
insulation and drywall. This house is getting a level 5 smooth wall finish throughout. The blue in the photo is a special drywall touch-up mud that completes the perfection represented in a level 5 smooth finish.
After the drywall is mudded, it is ready for interior prime and paint. In the meantime, as the drywallers were working on the interior, our siding crew was working the exterior. First up, even before the drywallers work, was house wrap and window and
door installation. We always prefer Tyvek home wrap and have tried others,
finding them wanting. For example, on some remodels, we have seen moisture
trapped on the inside of other homewraps (against the plywood or other
sheathing). Another old
standard for house wrap, also a secondary weather barrier, is good old 15 or
30# felt.
Sometimes we will use that on upper gables against an attic space, but it
works well against living spaces as well, if you see anyone using it. The
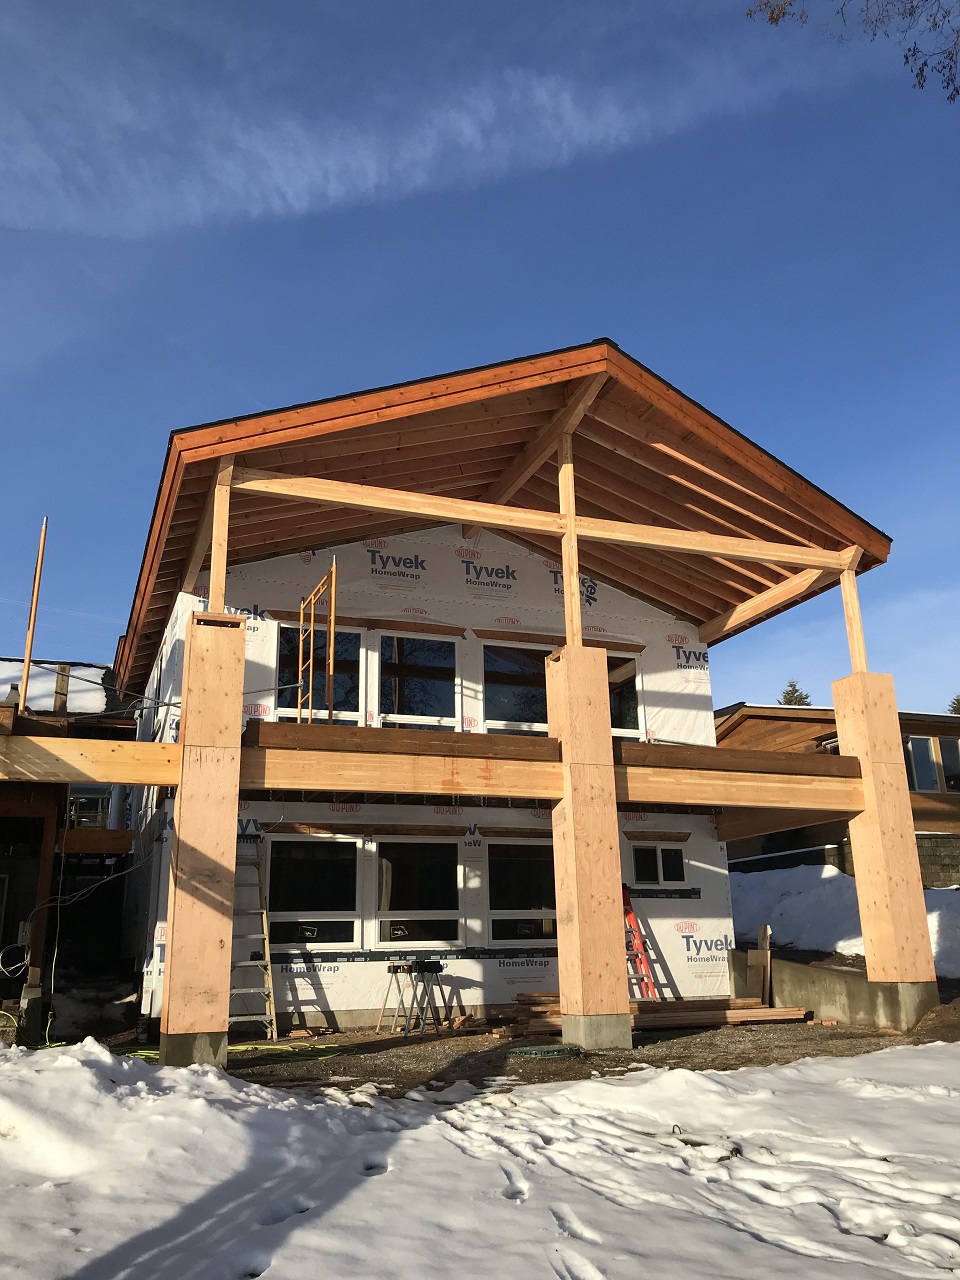
windows on this home are white Milgard vinyl windows, one of our favorite
brands in vinyl windows. In the photo below, you will see some of the prep of the three back columns facing the river, a post for the structure, wrapped in a 2x4 frame and covered in 1/2" CDX plywood. These wraps will later be covered in felt, then lathe and then a cultured stone:
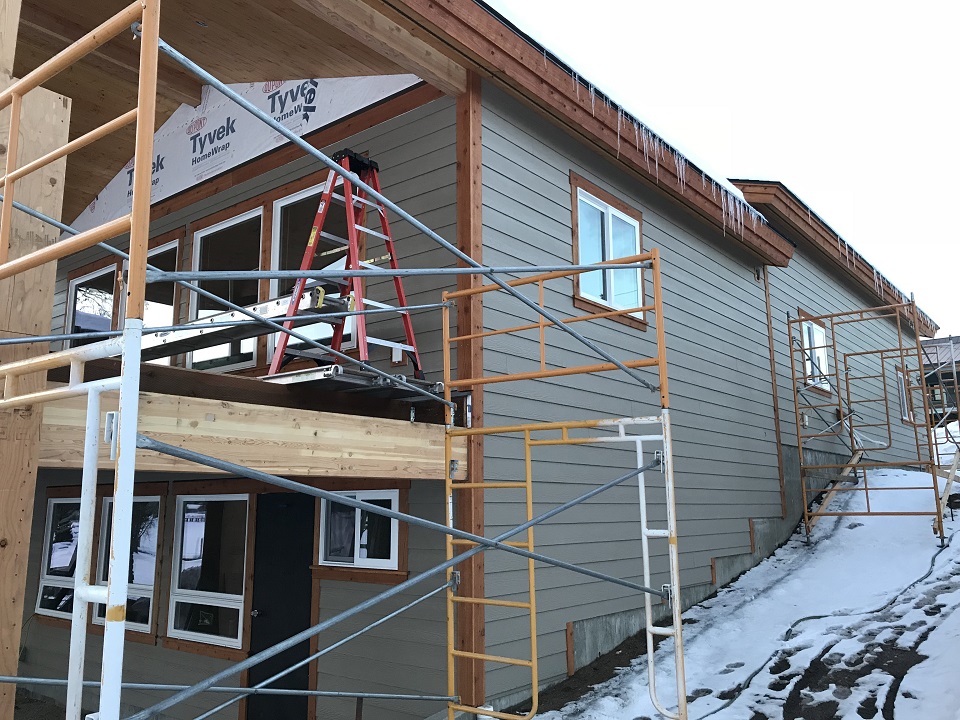
Since it is winter, we have everything pre-finished either in our own shop or at our painting contractor's shop. So, in this case, all of the Cedar trim is pre-stained, and the Allura fiber cement siding is pre-painted. As usual for us, we used a Benjamin Moore Regal Select paint. Regal Select has the longest time before fading and the need for re-painting. We do not use contractor-grade paint on our exteriors, because UV exposure on contractor grade paint will mean our clients would have to re-paint long before we would want to if it was our own home:
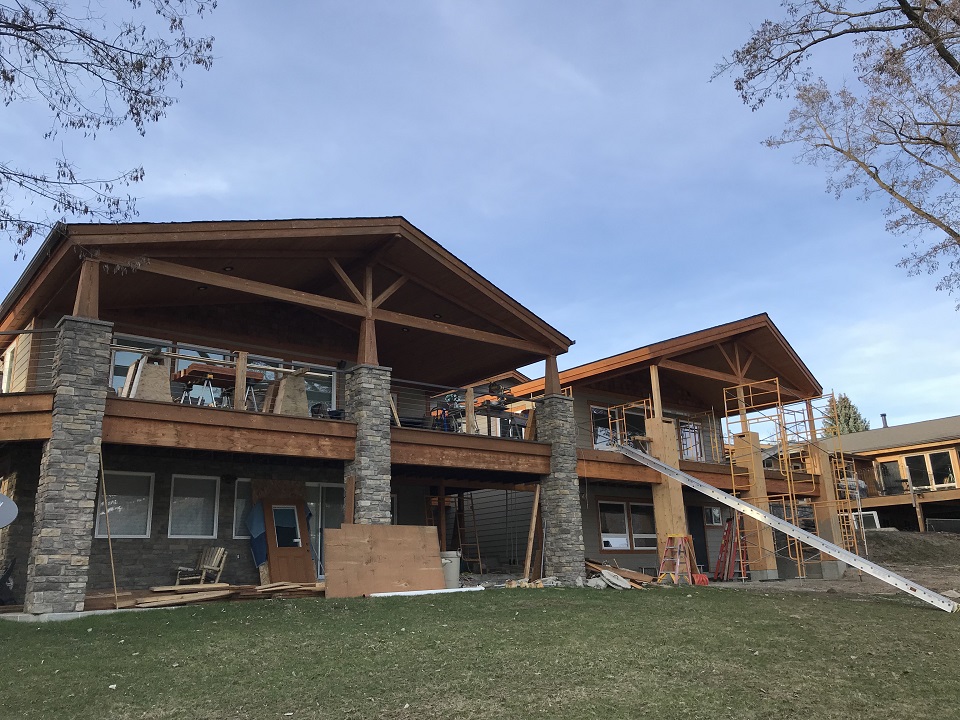
The goal with the exterior finish of this addition is to match the existing home in colors, materials and finishes. Of course, our stain on our beams and our Cedar is going to look a little fresher for a while. Most people are usually not aware just how fast UV rays change even a good wood stain's color. If you want your home always looking new, it is recommended that you use a brightener on your stained wood every single year. We once re-finished the exterior of an all-wood sided home 8 years after it was new, and it was severely changed by UV rays. To get it looking new, being a large home, cost over $16,000. Had the owner paid a painter to attend to the home yearly with a brightener and sometimes fresh stain, it would have cost $14,000 total over those 8 years (less than $2,000 a year). In that case, the homeowner would have been money ahead and would have had a new looking home all of the eight years:
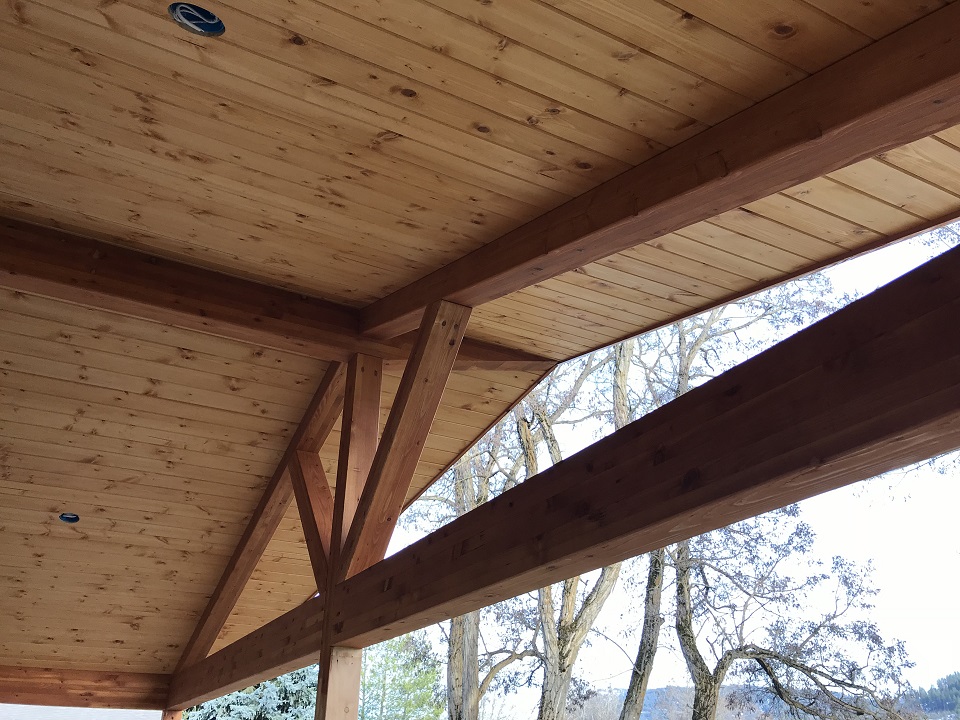
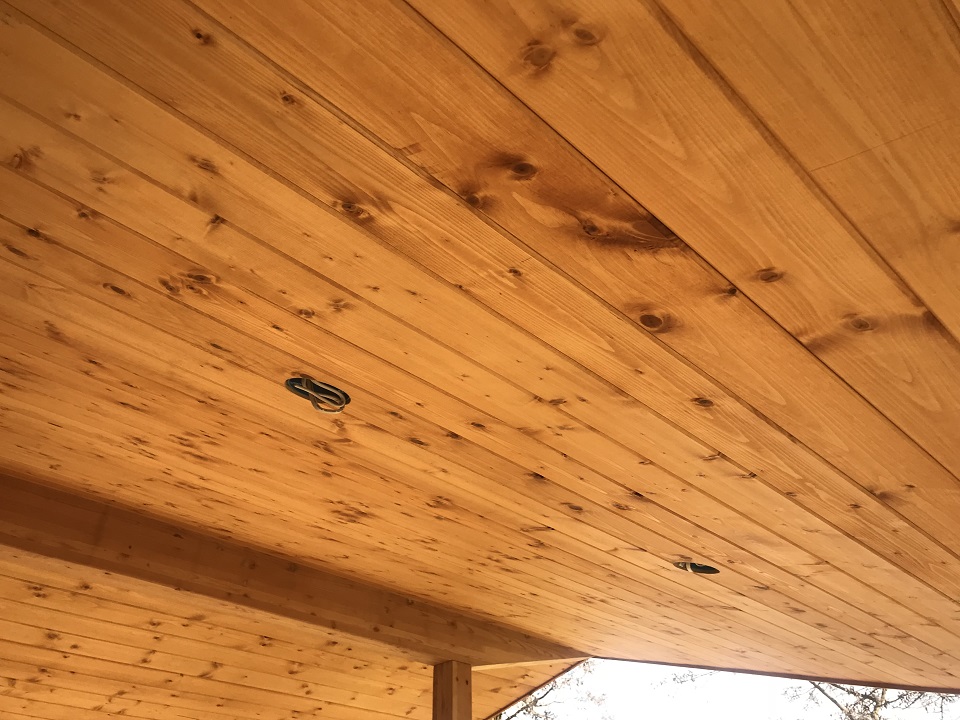
The below photos show a stained tongue and groove Pine porch ceiling. We used the same product on all soffitts of the home:
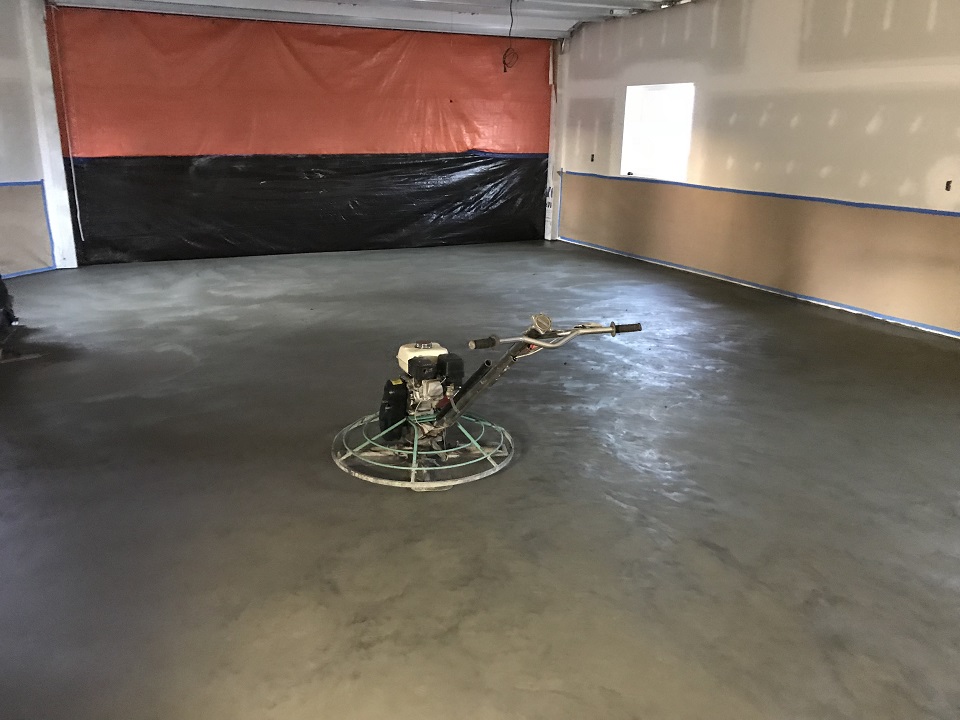
We started this job in September and ran out of time to do the garage slab before framing and needing to get the roof on. In fact, we insulated, drywalled and heated before we could even do the slab. Because we had to get the right temperature for concrete placement and finishing (in this case provided by the heated building), and since we framed over winter and had some very cold spells, the frost penetrated the ground in the garage quite deep. We had to run the heat a while to get all of the frost out of the ground (you can't pour concrete on frozen sub-base or with frost in the ground), allowing us to do an interior pour of the concrete garage slab. Well, we need the slab done now in order to proceed, and load limits are on all county roads to protect the roads from spring "break-up" (frost coming out of the ground). That means, the 12 yards for this slab were hauled 3 yards at a time on 4 trucks. Load limits stayed on for weeks, so it is what we had to do. It was also early enough in the season that we added an accelerator to speed the concrete curing, even though we had building heat.
Next up will be interior finish, and in fact, at this date we have completed this building, so in our next blog entry, we will share with you the finish details of the interior, deck and driveway concrete. |