Online Blog > Previous Entry 11/10/2018 > 4/11/2019 - Custom Home Construction Progress > Next Entry 7/8/2019
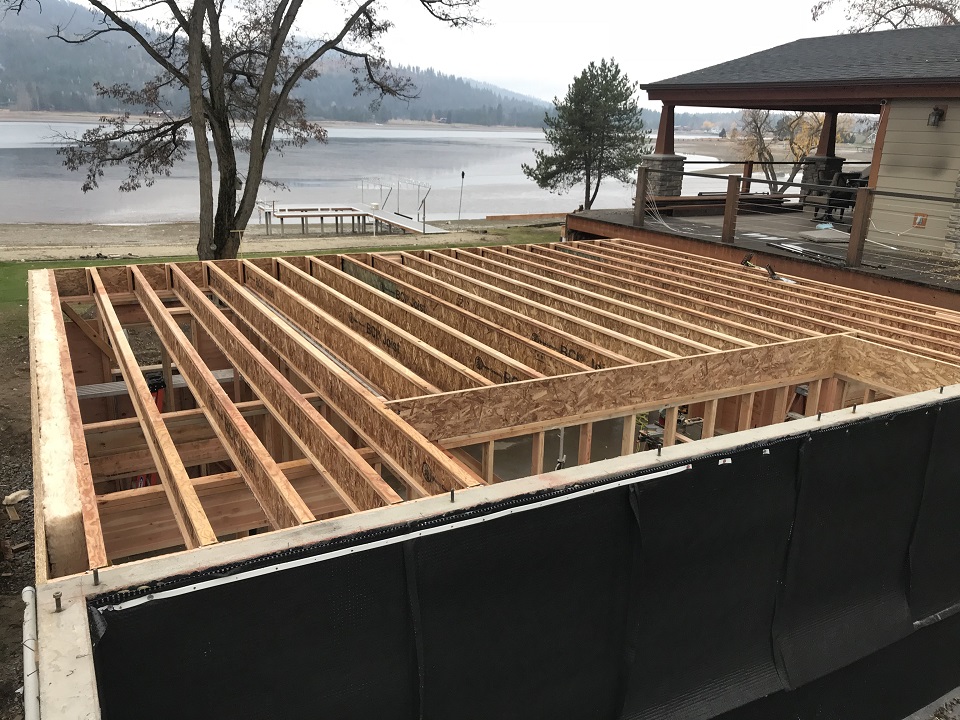
We have been laboring through the winter months primarily on this custom project in Laclede, Idaho. To catch you up, this is a river-front property, and there is an existing home on the lot that just got remodeled in 2014 by another builder and another homeowner. Our Client bought this property and had us tear down the existing 22'x22' simple garage to replace it with a much larger garage and guest quarters with kitchenette and a bath with tiled shower. We are tasked with integrating the entire two-story structure into the existing home and deck. That involves a minor roof tie-in and a major deck and rail system tie-in. We are also removing all of the redwood decking to replace it with Trex. In our last update, we discussed the cascading foundation with the walk-out basement. Now, we'll step through the progress photos and describe some of the details. This blog entry will focus on the framing, and in the next entry we will focus on the exterior finish. Starting with the walk-out basement, we built the floor with BCI's from Boise Cascade. Their great advantage is their long spans, which in this case we have a floor rated at L/960 and a 17' span between load-bearing supports. You'll see in the lower portion of this photo that we have already prepared the earth-side of the 10' concrete wall with waterproofing and a drain-board and a footer drain before we back-fill against it and prepare for the slab in the garage. We complete the basement wall frame, the floor frame and the subfloor installation before the backfill so that the framing can provide resistance to the weight of the backfill, especially since concrete takes a long time to reach full strength (28 days to get into the 90% range of the full strength of its final cure):
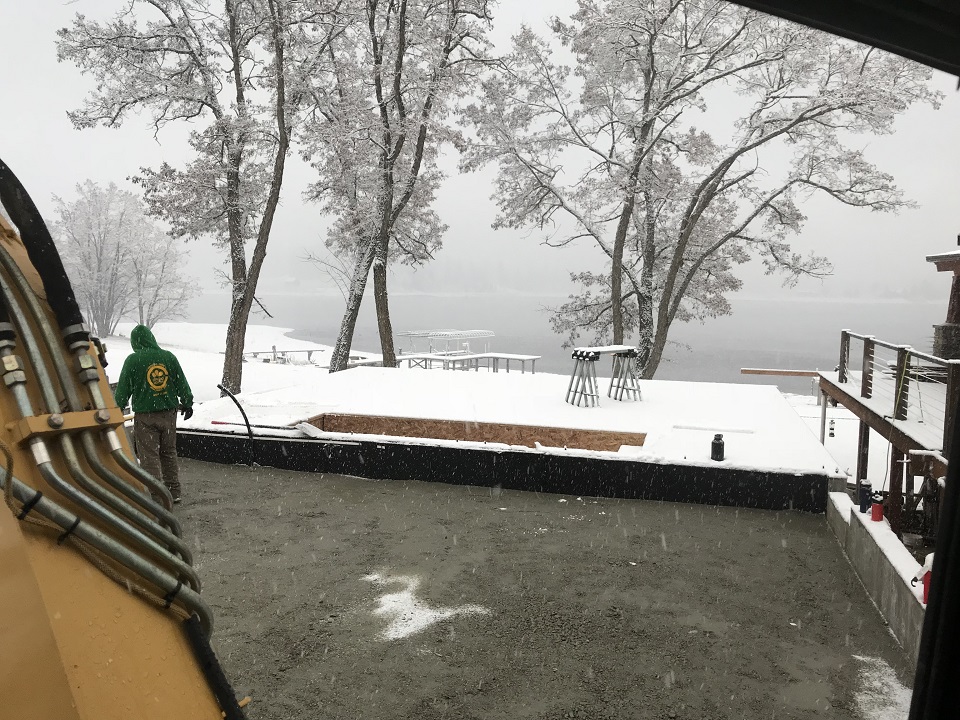
Oops, hit by the first snow! In the below photo, you'll see that the subfloor was installed. The basement walls have their exterior plywood wall sheathing installed, and then we began the backfill of the concrete sub-base in the garage. We install that rock in 6" lifts, wetted and carefully compacted so that it provides a solid base for our concrete later:
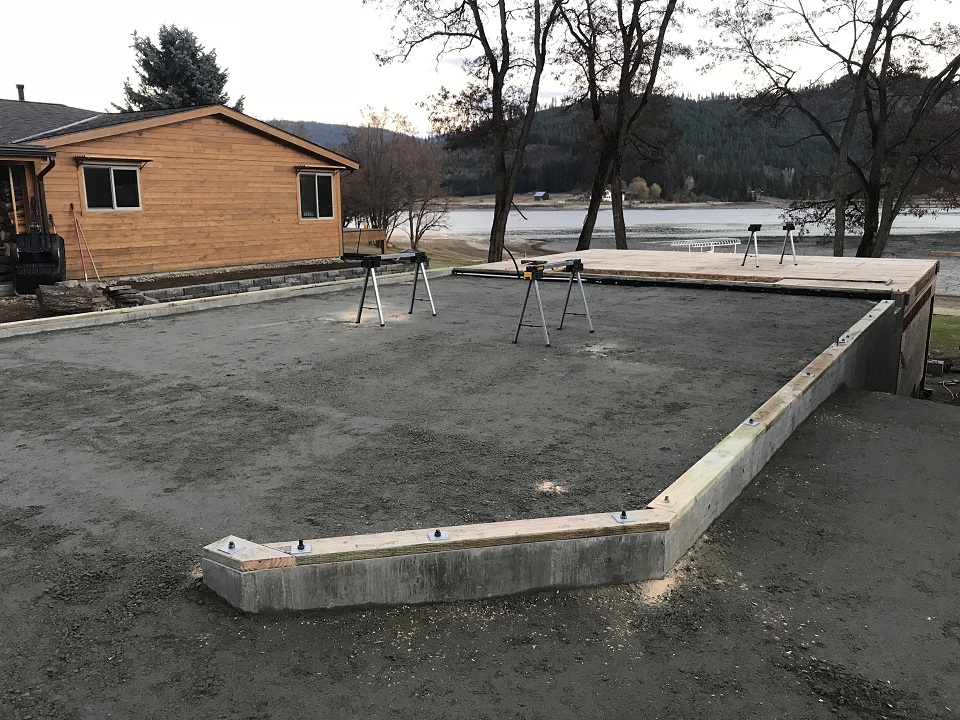
We also install close to the top of this rock a polyethylene vapor barrier that will retard water vapor under the concrete slab. We install it a couple of inches down in the rock sub-base so that we don't tear it while we are prepping and pouring the actual concrete. The snow melted, but because of the cold and the weather, we will focus on the frame and getting a roof on and will do the garage slab later once the building is enclosed:
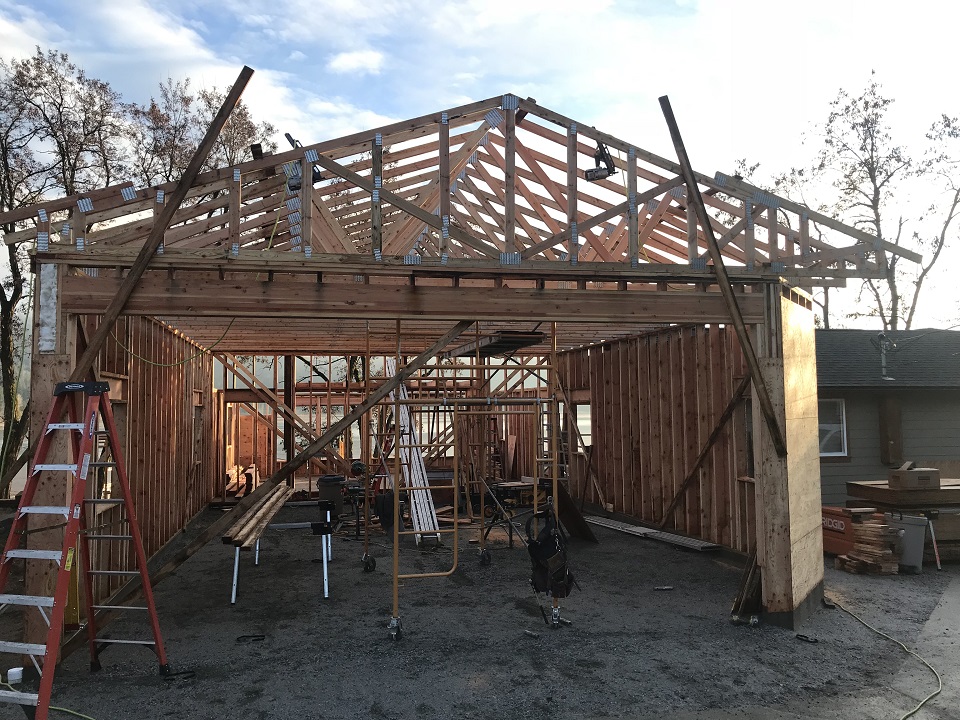
So, we proceed with framing the upstairs and garage walls:
And, after the walls are partially sheeted with plywood (we hold off on full sheathing to tie the trusses in using the plywood sheathing), we received the truss delivery and rolled up the garage trusses:
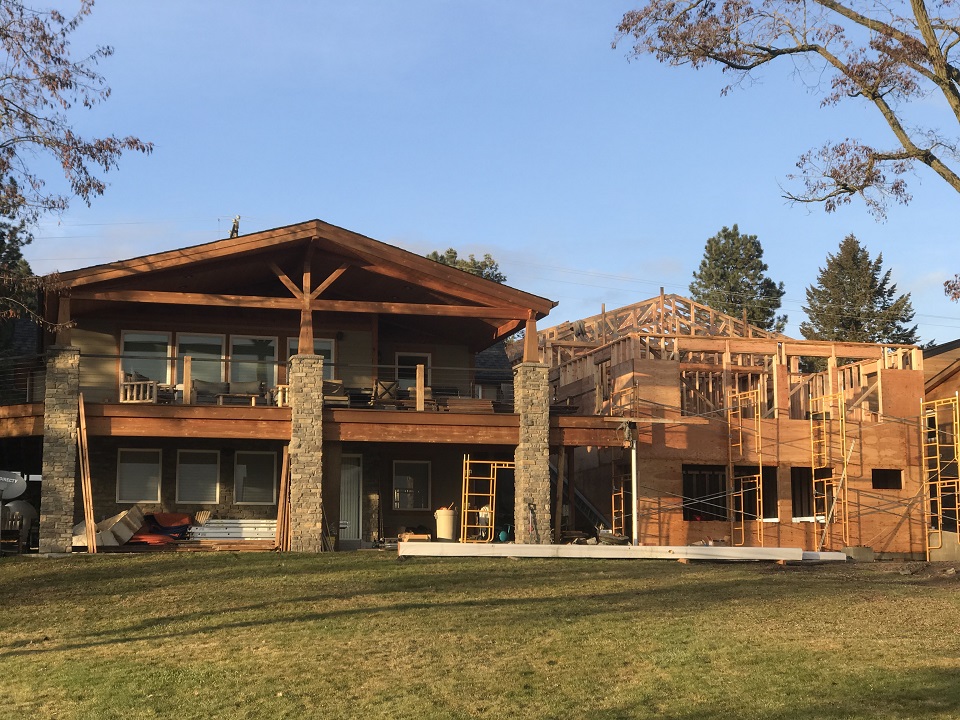
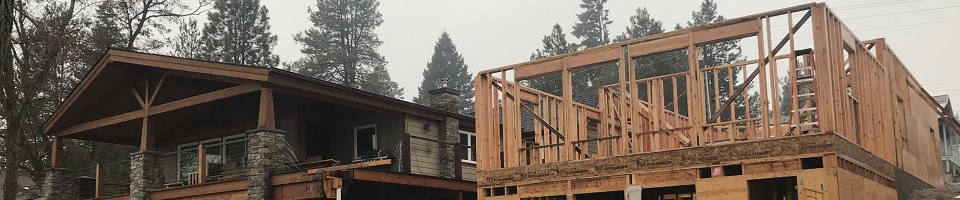
The river-side view of the framing progress:
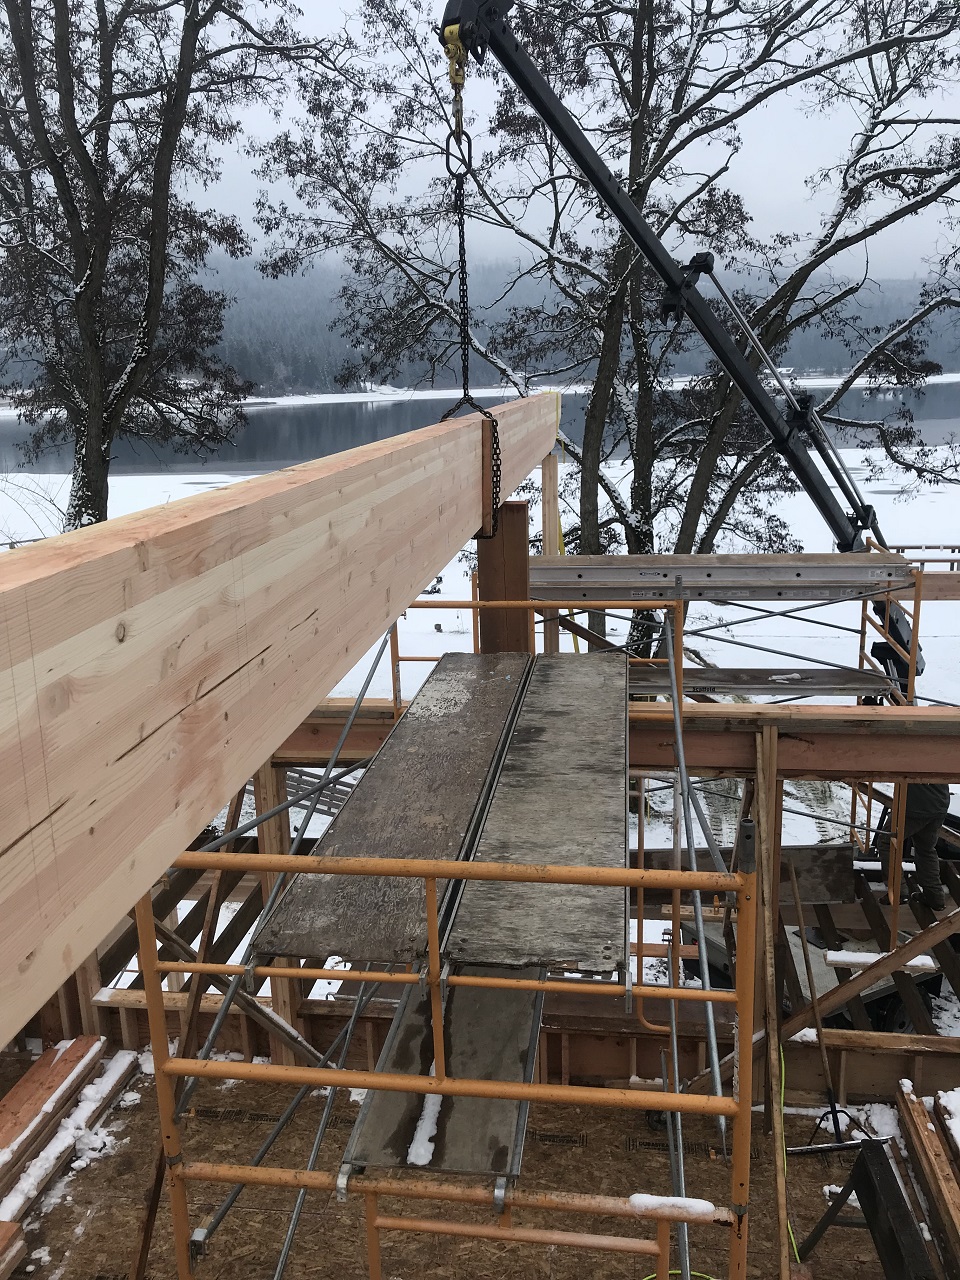
We have a 5" x 18" 36' long ridge beam to install over the two story portion and deck. This ridge beam will carry our trusses and 2x12 rafters out over the deck. Installation of this 800 pound beam required a crane, which we hired from our truss company, Trusstek out of Bonners Ferry. Note that the snow is back!:
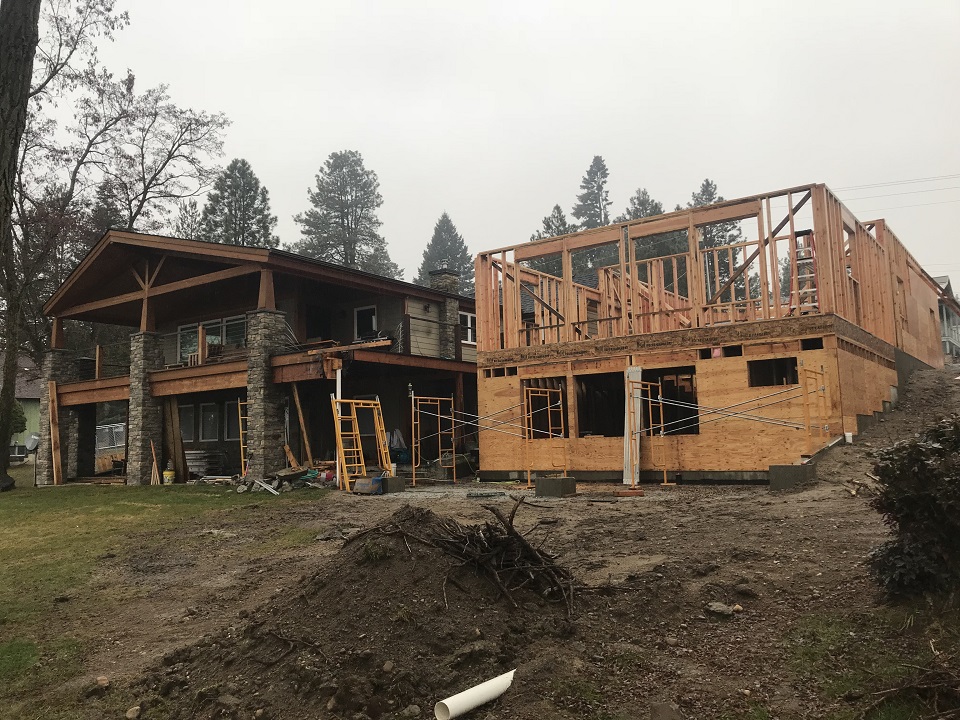
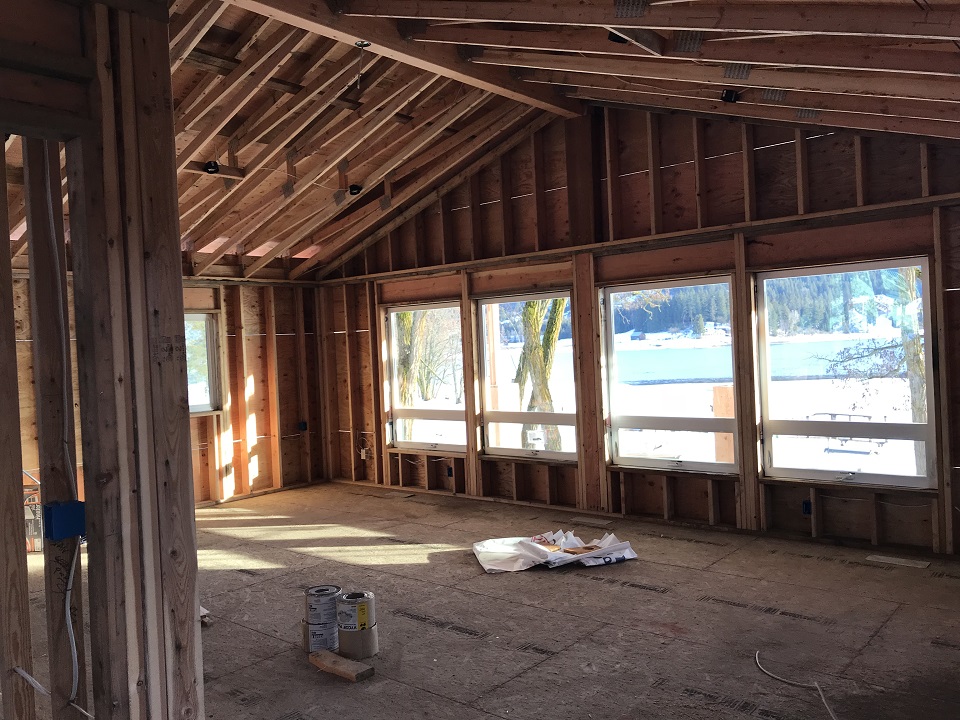
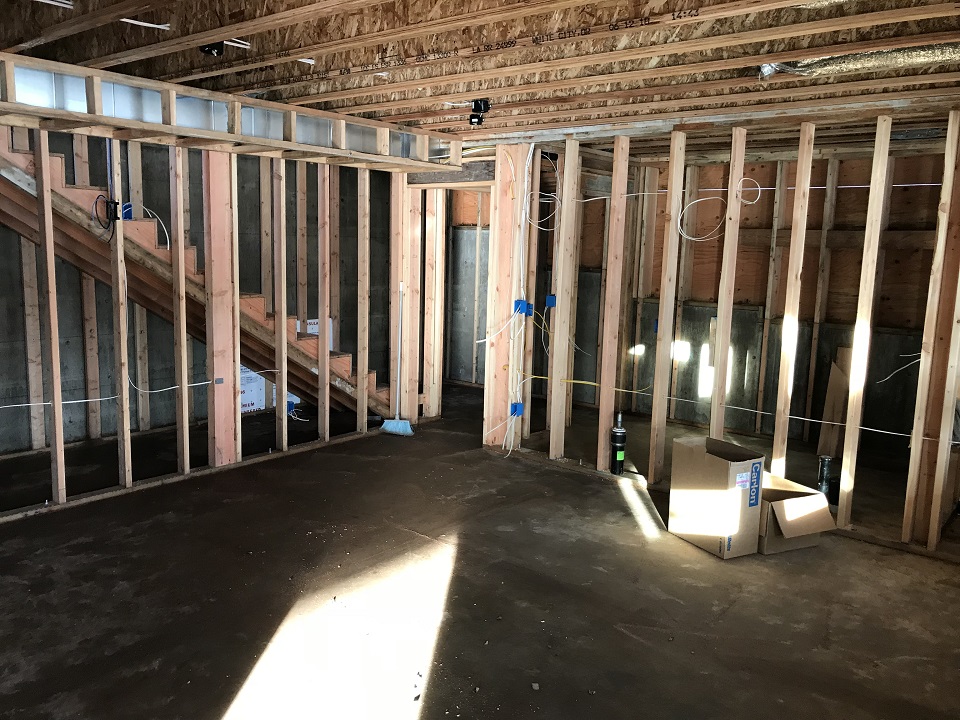
After that beam was set, we proceeded with installing the trusses, which, in this case, bear on that beam. At the deck, the rafters were 2x12's. We then tied the trusses into the wall frame with the remaining plywood sheathing, and from there we complete the tail framing, the subfascia and fascia, and we installed the roof plywood. A lot of builders use 5/8" OSB for the roof, but we prefer 5/8" 5-ply CDX plywood. It is a little more expensive, but we think it is a better product. In the below photo, you can see that electrical has already been roughed in, and in fact so have the plumbing and the HVAC:
And the downstairs frame. Currently awaiting insulation:
|