Online Blog > Previous Entry 9/9/2018 > 11/10/2018 - Stepped Concrete Foundation > Next Entry 4/11/2019
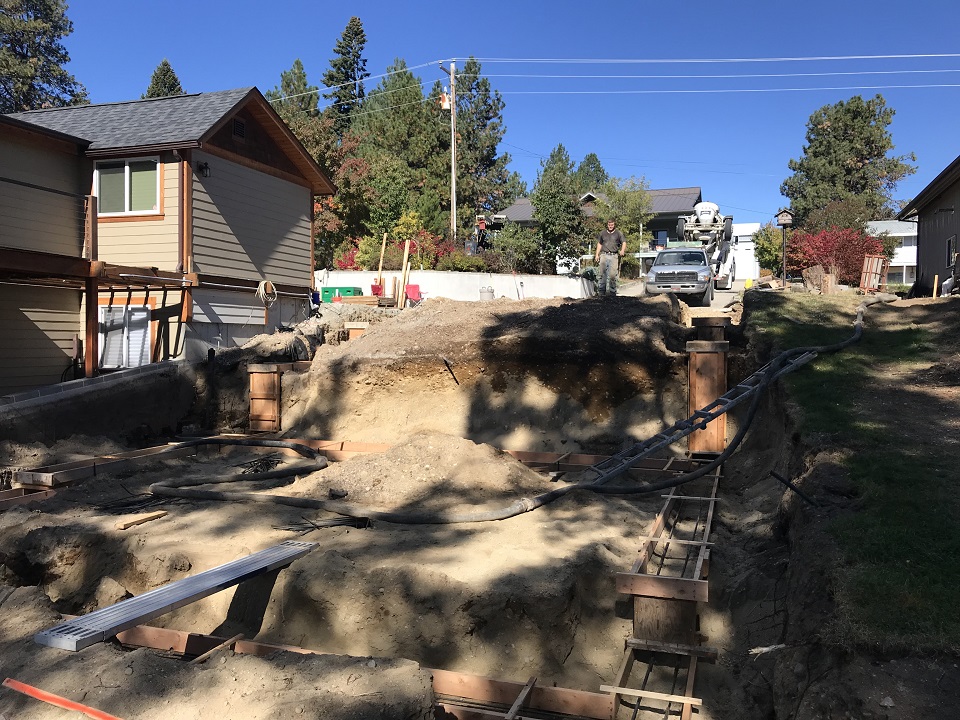
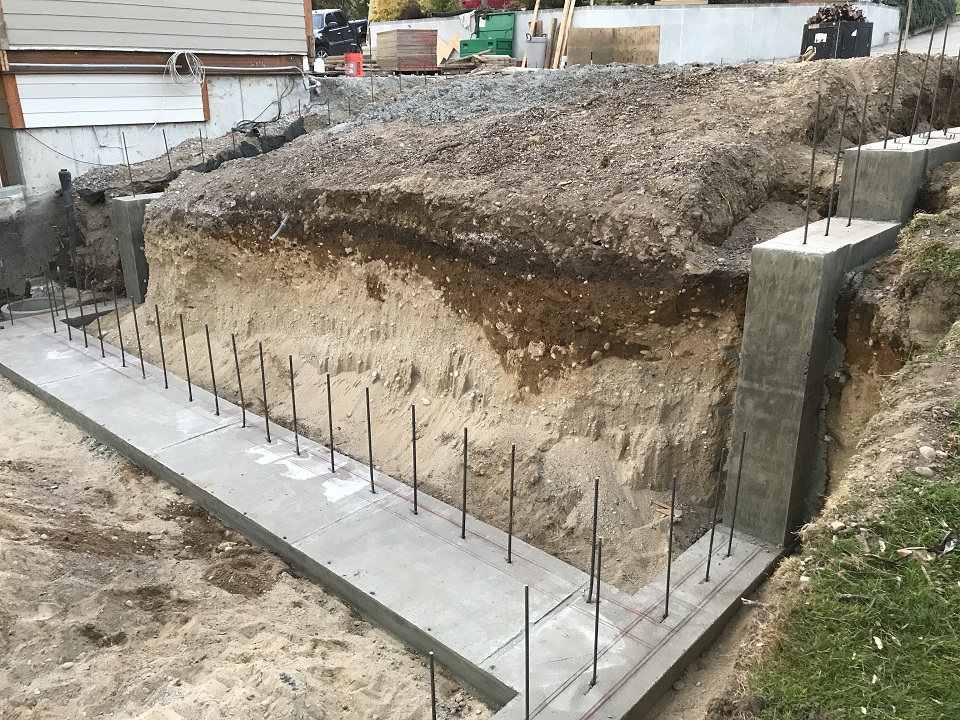
Three of our last four foundations have been like this newest one - cascading down a slope with multiple steps in the footers and the walls. In this case, the building has a garage with a planned slab on the top level, and the concrete walls need to come all the way up to contain the garage floor sub-base of crushed stone and the concrete slab, though there are even steps in the footers for this part of the foundation as it cascades down the hill. Then, there is a lower, walkout level that also has a slab and a living area that will contain a bedroom and a bathroom. The concrete wall between the garage and the walkout at the lower level is about 9' 6" tall. This photo shows the footers prepared for concrete - there are two horizontal courses of #2 rebar running continuously through the footers even as they take steps down the hill. Just after the concrete is poured, and while it is still wet, we will install either #4 or #5 rebar doglegs (which look like a J) every 16-18" in the footers as the engineer specifies:
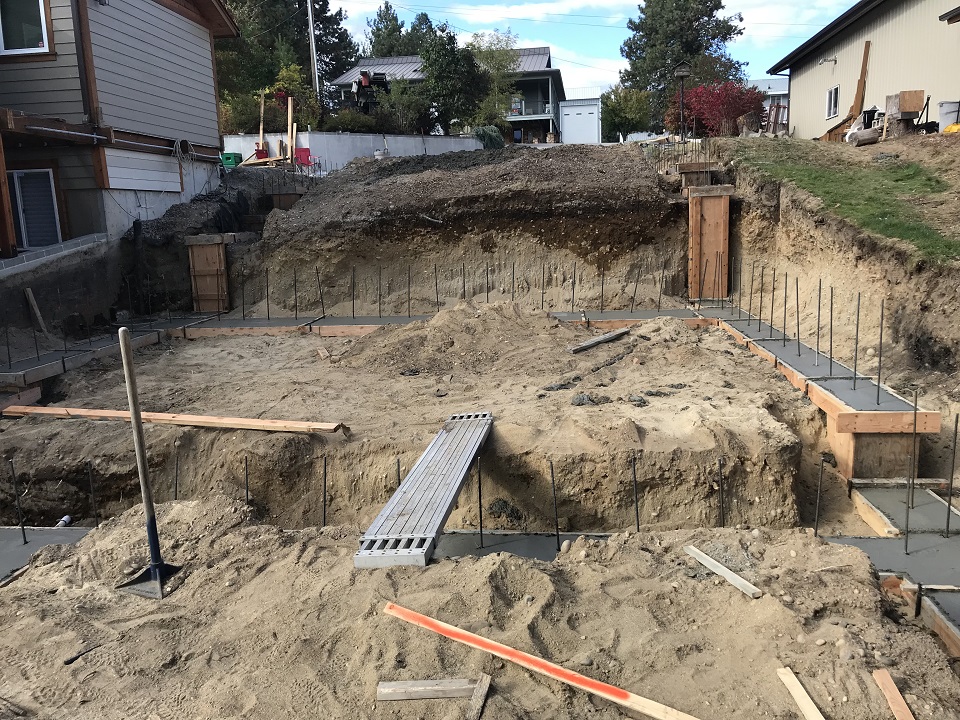
This next photo shows the freshly poured and screeded concrete and the vertical rebar set that will tie the walls to the footers:
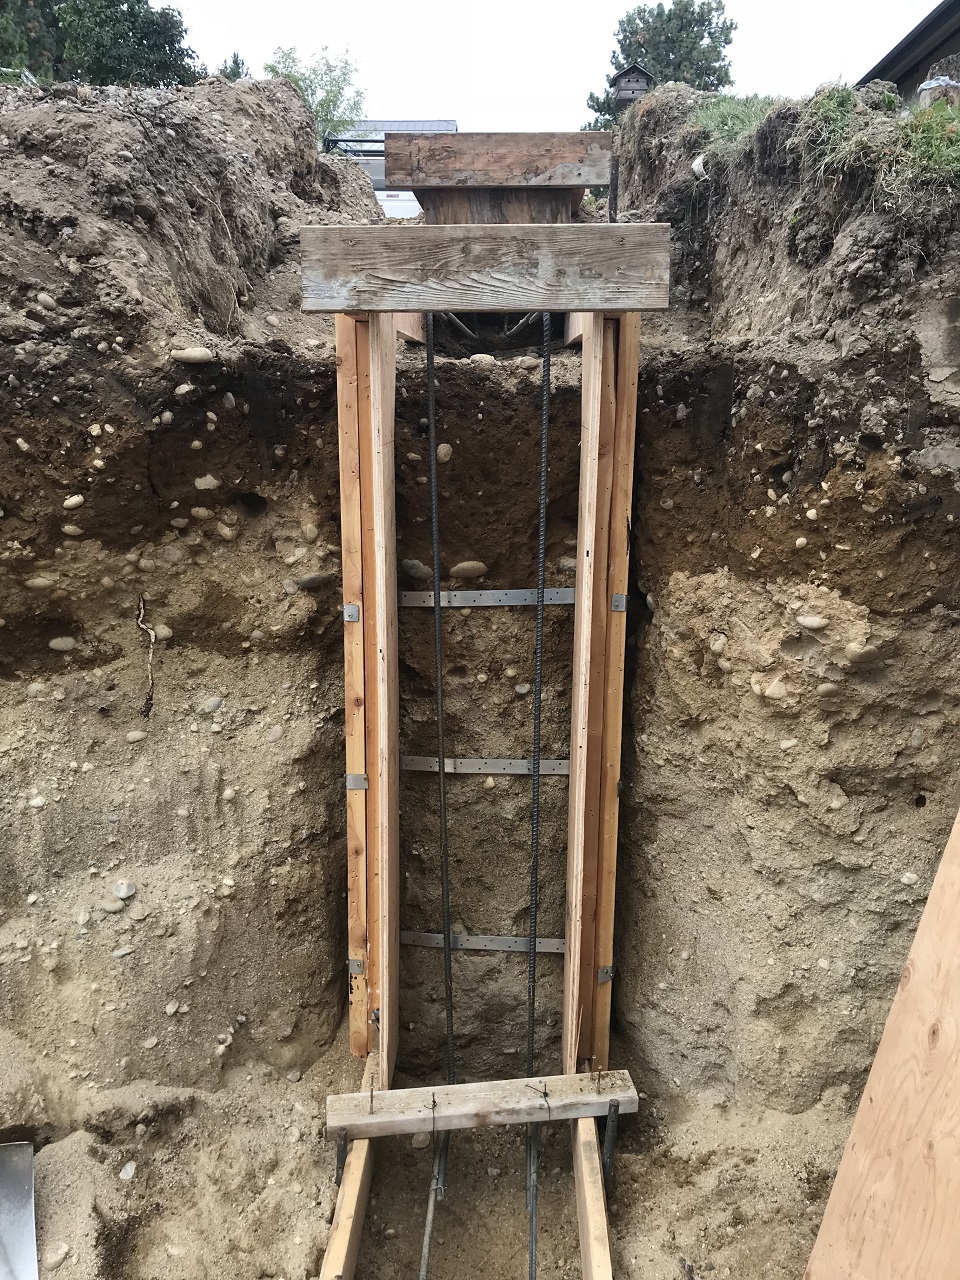
One of the largest footer steps is a drop of over 5', so the below photo shows the guts of the formwork and rebar before we enclose it for the pour. The metal straps are in place at the back of the formwork to prevent the pressure of the concrete from forcing outward the formwork:
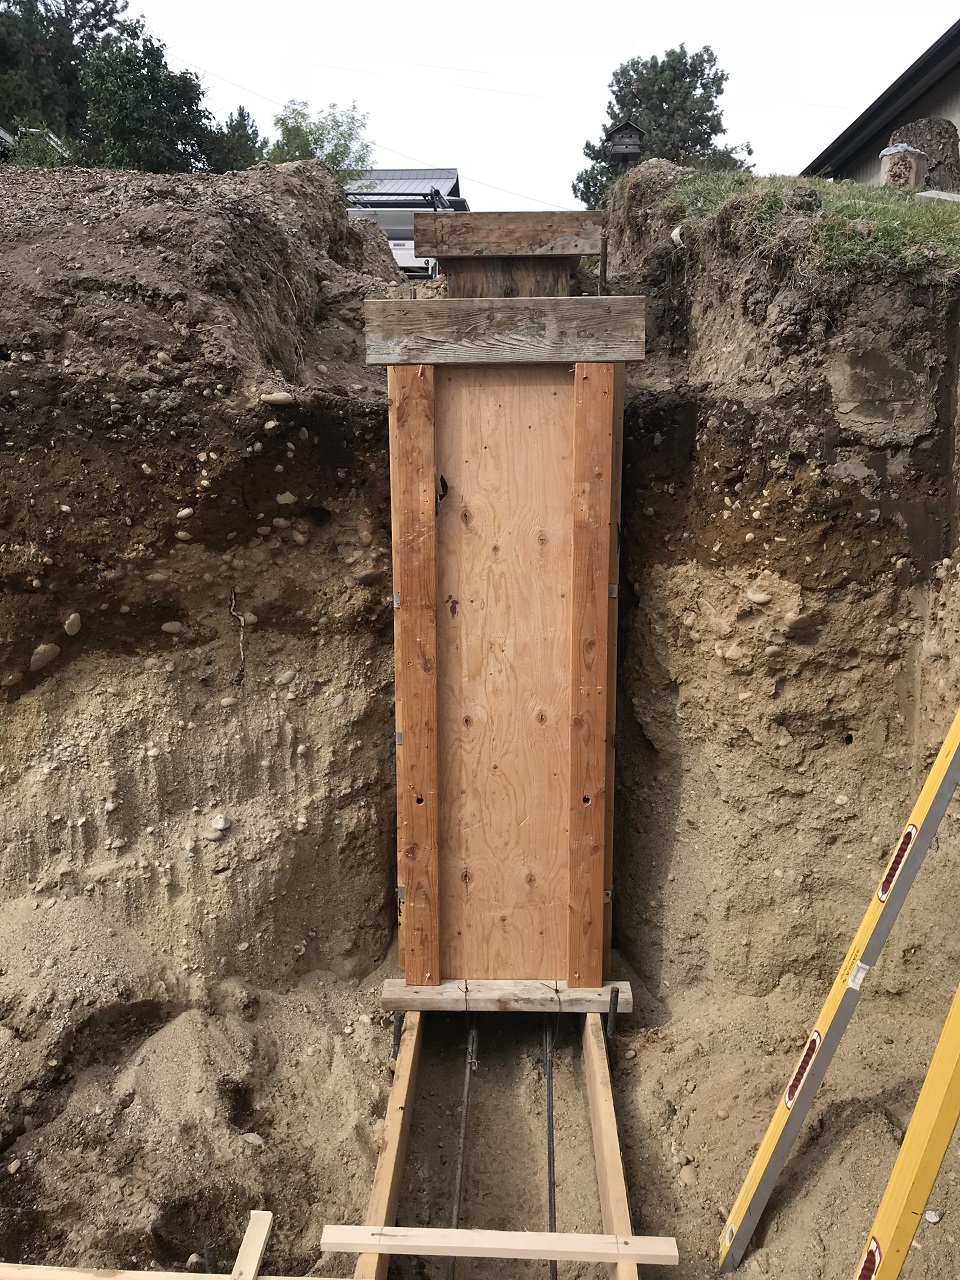
Now, here is the formwork with the face installed and ready for the concrete pour. We use 3/4" CDX plywood for these types of forms, and since they are sized particular to this job, we buy a couple of sheets just for this job, and they may or may not be useable on any other job:
The below photo shows the partially cured footers with lines snapped on them representing the base of the concrete walls so that we can begin installing the forms for the poured concrete walls:
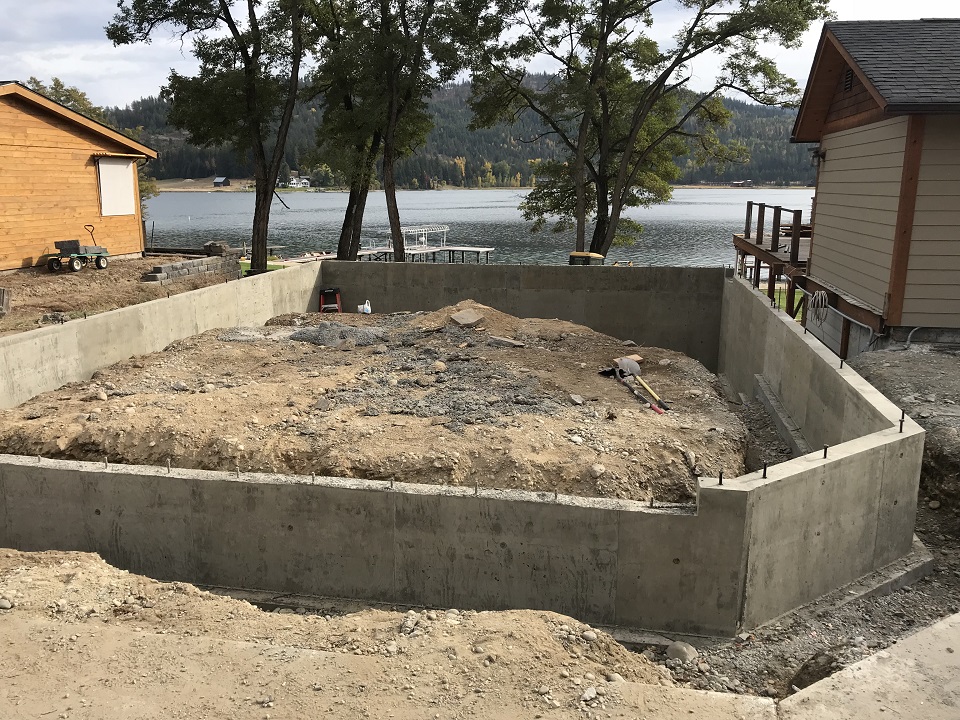
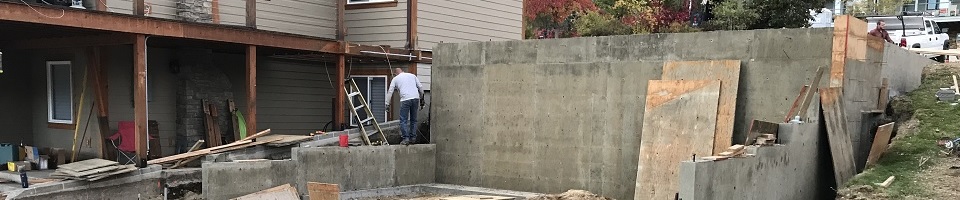
Skipping ahead now, we have formed and poured the walls and are in the process of stripping and cleaning the wall forms so that they can be used on other jobs. In the foregorund, you can see a concrete wall with a sloped finish to it that represents a retaining wall outside of the building wall footprint but under roof in the final plan:
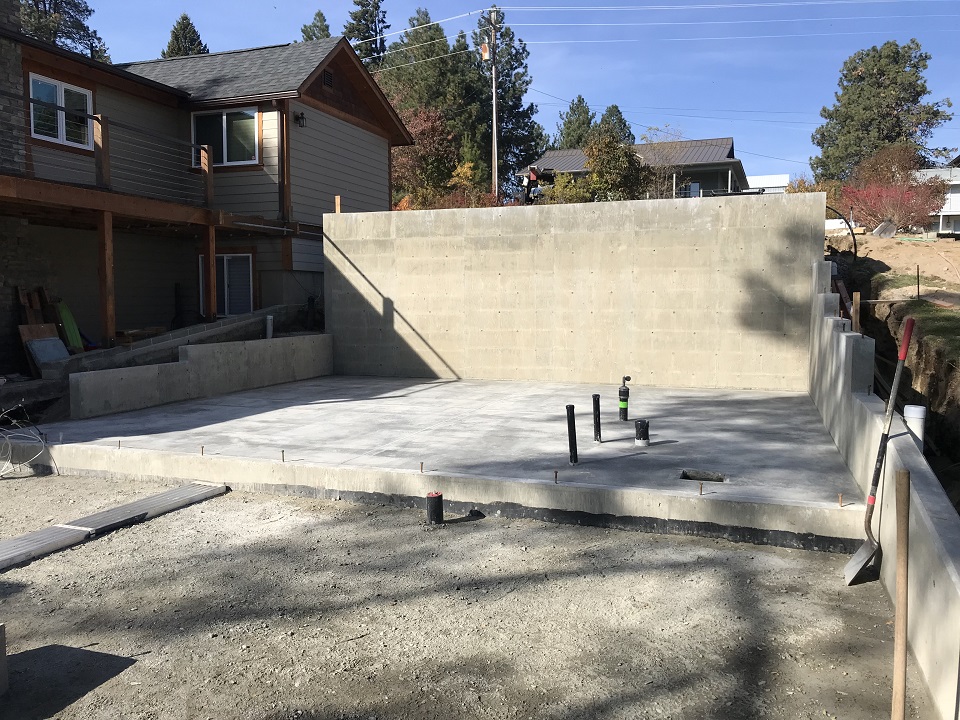
In the below photo is seen the garage footprint. After we frame the lower level living area and put on the floor above it, we will fill this footprint with compacted stone sub-base, a vapor barrier and will then pour a slab as the garage floor level with the top of the concrete walls seen in the photo. That will consume about 7 loads of gravel at least, but we wait to do that until after the lower level is framed so that we are not putting pressure on the relatively uncured concrete walls (concrete takes at least 28 days of cure time to get over 90% of its ultimate strength). By framing and installing the subfloor that is at the same level as the garage slab, we are buying time for concrete curing and we are introducing framing and bracing that will help to reinforce the concrete against the horizontal push of the rock backfill:
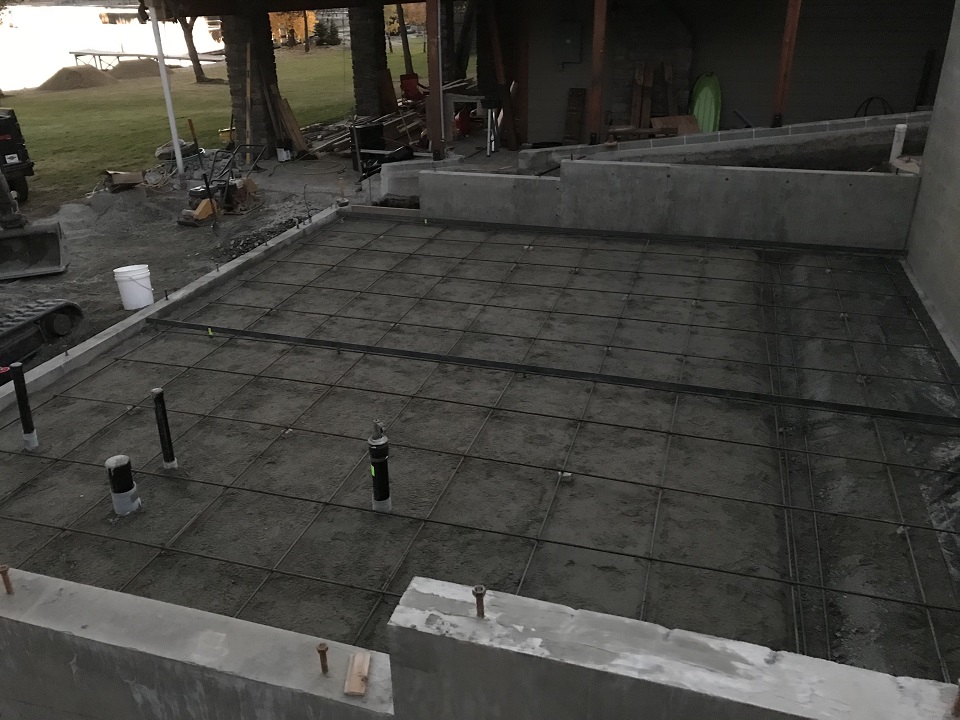
In the below photo we are prepared for the lower slab pour. To get there, we had the plumber complete the in-ground plumbing that will be under the slab, and then we compacted gravel to be the sub-base of the concrete. We also installed a vapor barrier/retarder under a layer of the gravel. We use #4 rebar to reinforce our slabs, and the level of the pour is maintained by screeding across 1/4" x 2" steel rails that are set to our concrete grade (they can be seen in the photo). Also seen in the photo is a deeper trench that will be filled with concrete and act as a loadbearing point for a wall above. It contains two extra courses of horizontal rebar:
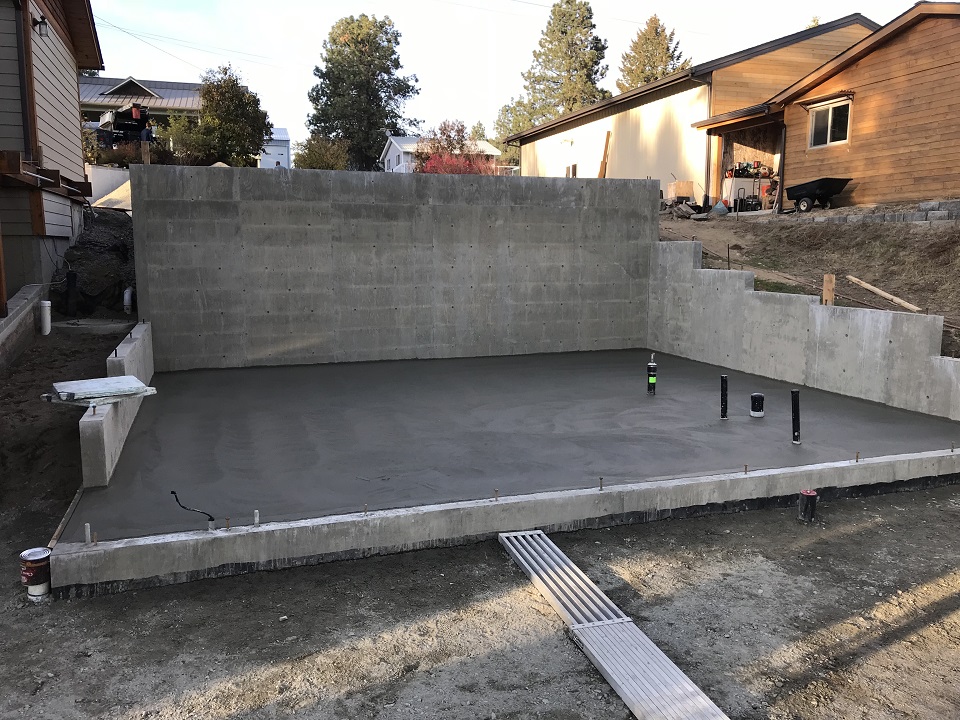
Here is a photo after the pour and the finish with steel trowels. We didn't burnish this one as much as we would a garage floor, since this slab will actually be covered with flooring - in this case carpet and tile:
In the photo below is the partially cured slab, and we have cut joints in it that are contraction/control joints.
If you really want to see more completely the details of this project, watch the below video: |