Sandpoint Additions and Remodel Project Photo GalleryWe have had some excellent opportunities to take an existing home, sometimes with extensive damage or severely limited in size and functionality, and add to the home or give the home a complete makeover. This project gallery features examples of homes that were added to or completely refinished:
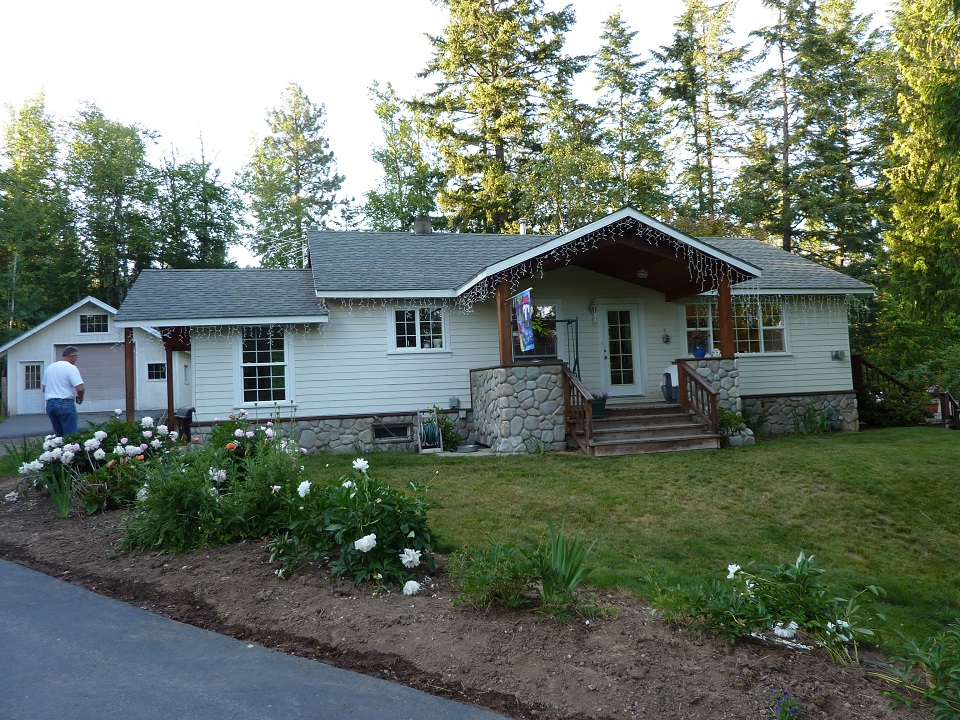
Sandpoint Home AdditionWe worked closely with this Sandpoint homeowner and listened to their design goals to develop this addition that perfectly met their desires and needs. They had previously hired an architect to do a design but did not believe the results met their goals. We arrived with a can-do attitude and were positively oriented toward making this addition meet their goals and aspirations regardless of any technical challenges. The home before the addition:
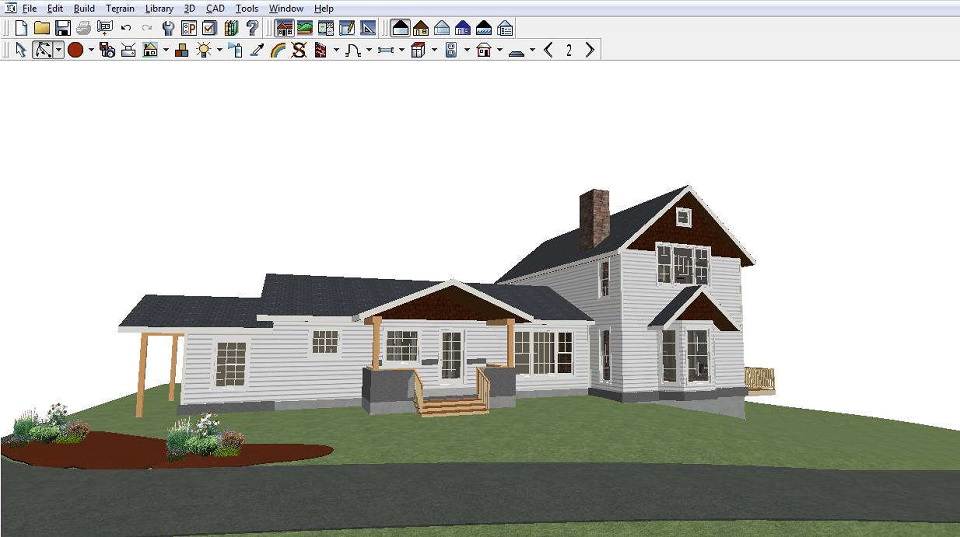
After many meetings with the homeowners to discuss their goals and designs for the addition, we developed a plan on our Chief Architect software. After an initial plan, there was much back and forth by e-mail and phone to refine the plan. The software is great because it allows us to make significant changes in mere minutes, and we can share the plans and 3D images via e-mail and smartphone. Prior to design completion, the homeowner can tour the new design in 3D on a computer:
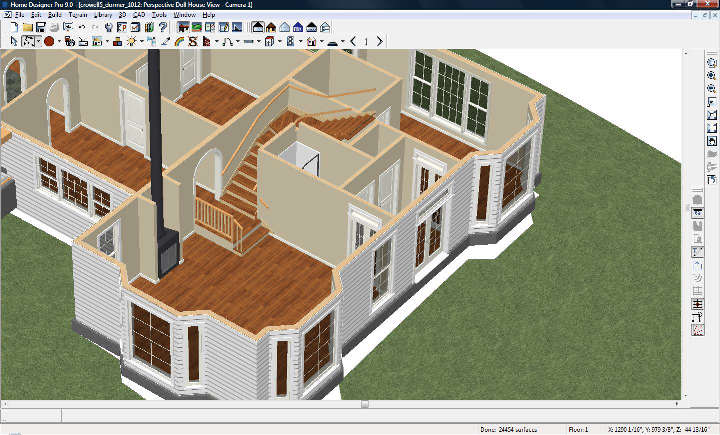
A dollhouse view of the planned addition:
After the design is approved, an estimate is prepared and a contract signed, and construction was underway:
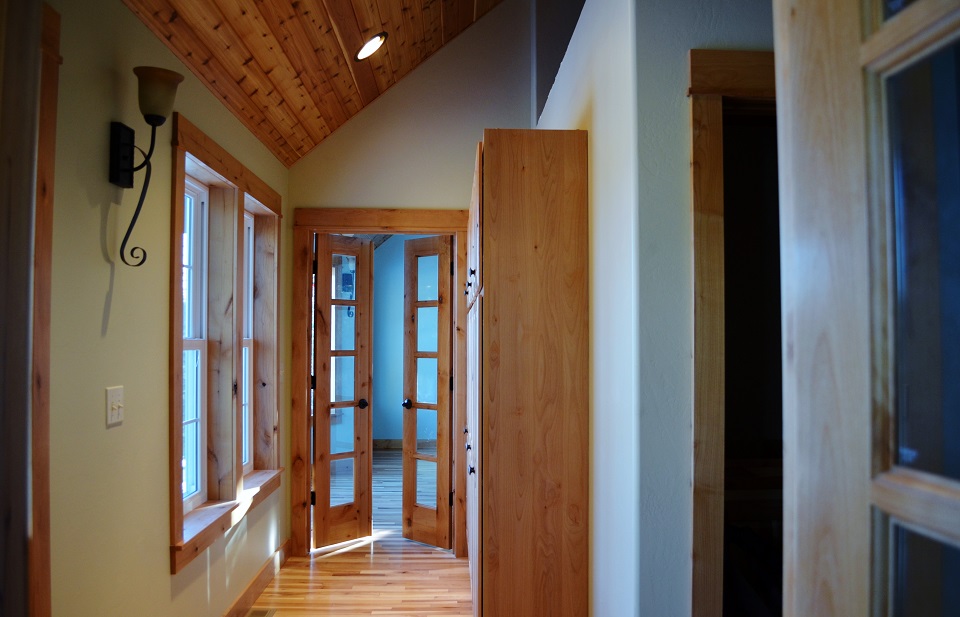
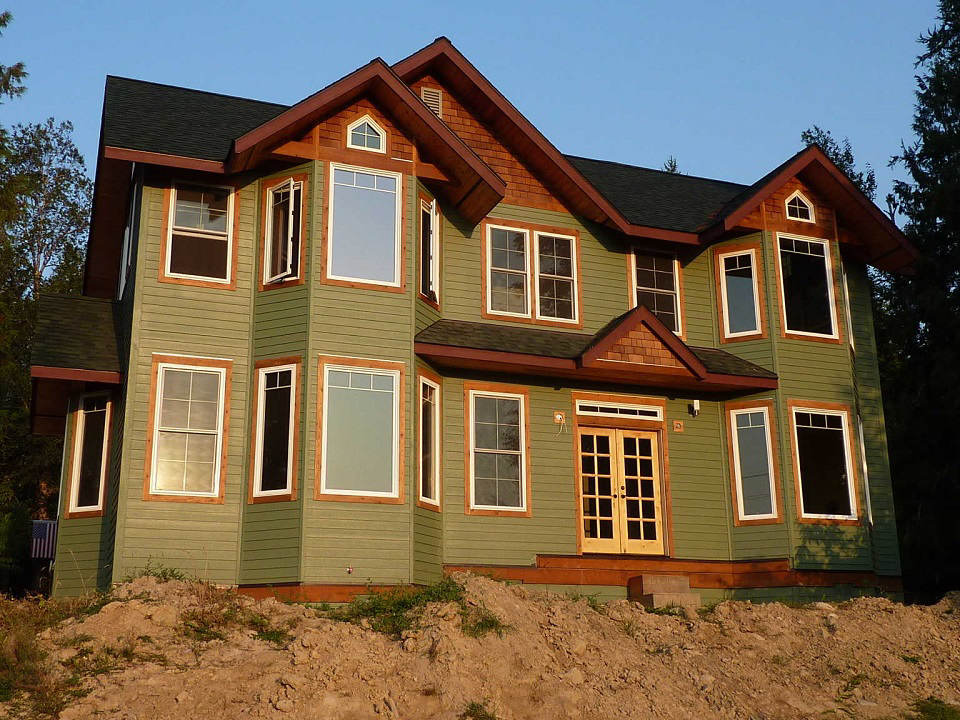
In this photo, there is still the need to build the exterior deck, but here is how the home looked upon completion of the addition:
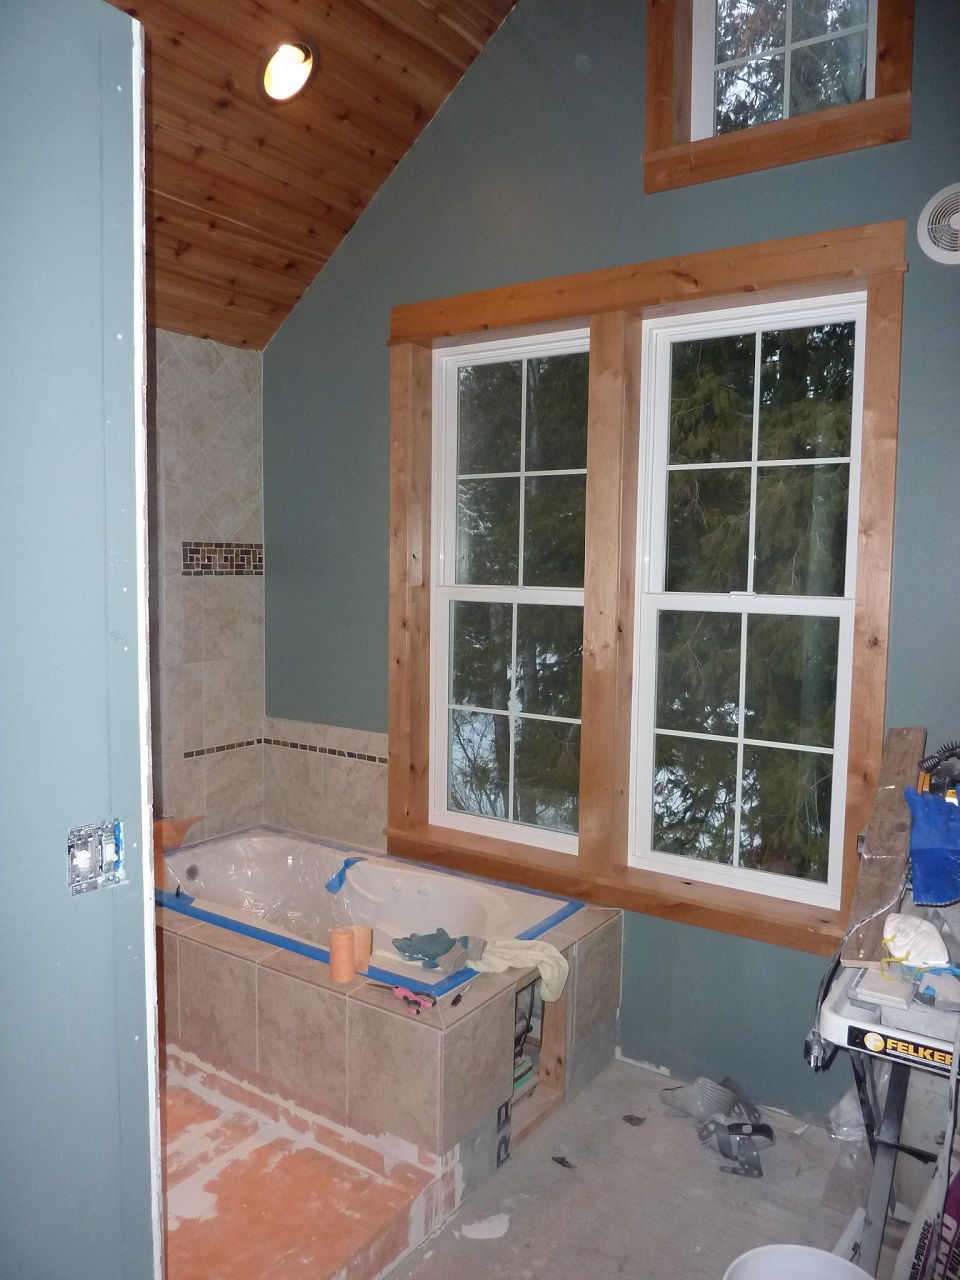
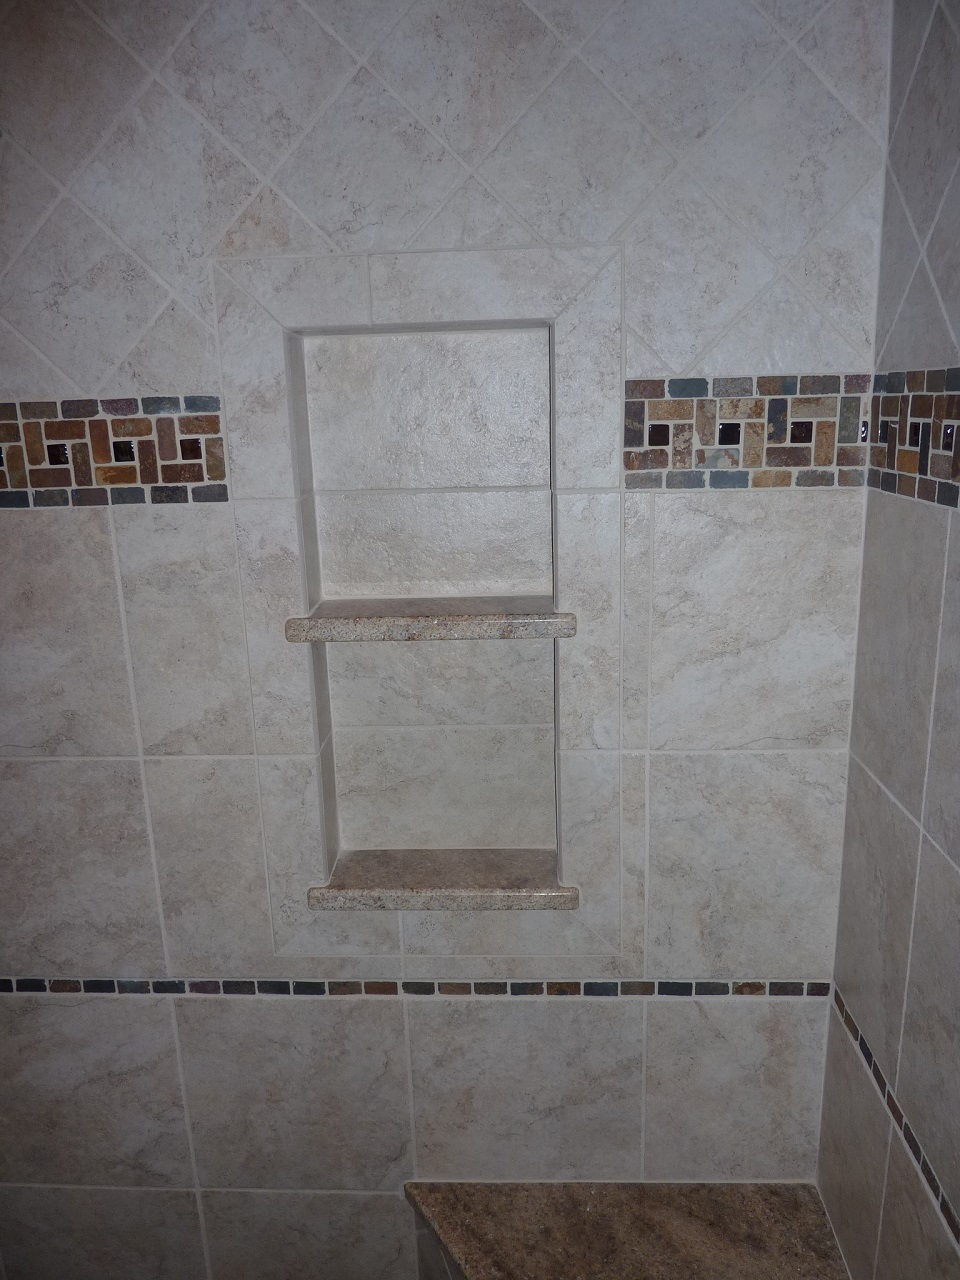
We installed a beautiful master tile shower and jet tub bathing area using the Kerdi waterproof membrane and drain by Schluter Systems. Here is a photo during the construction process:
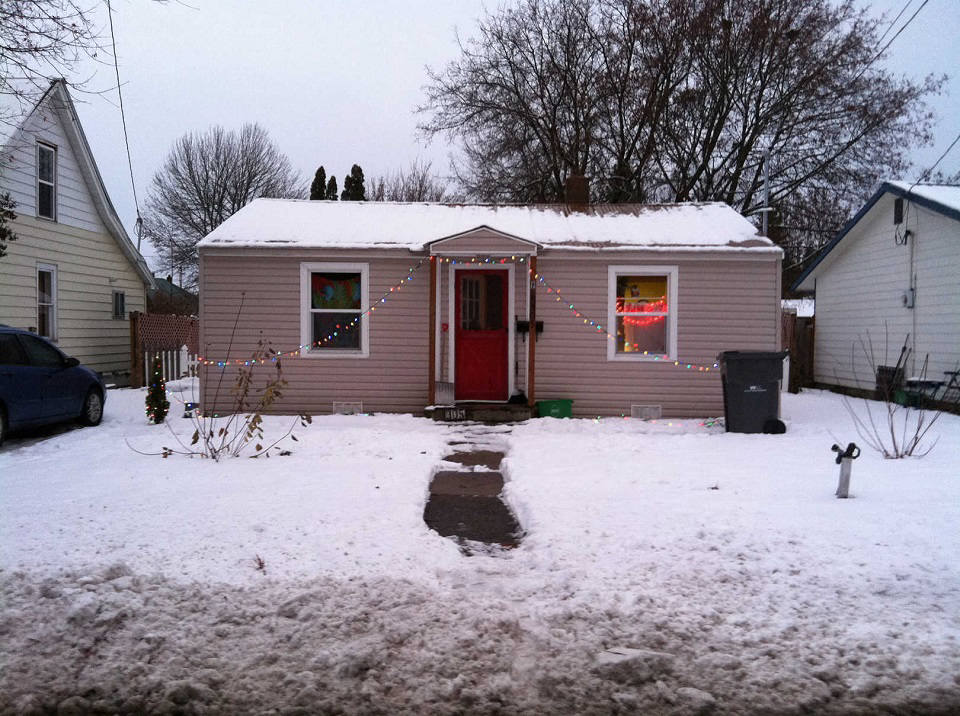
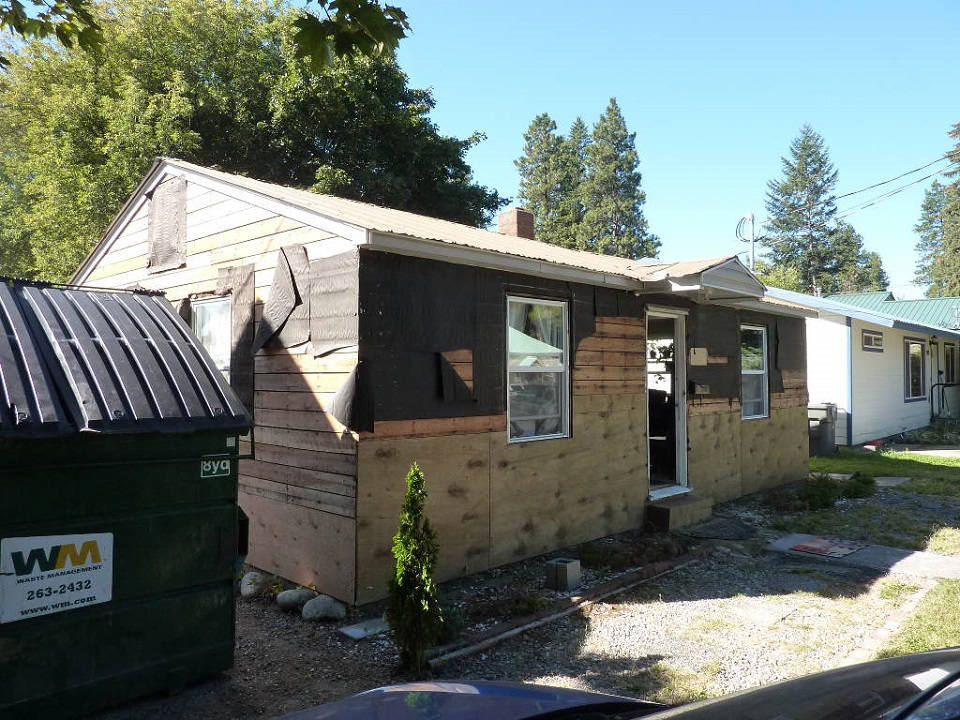
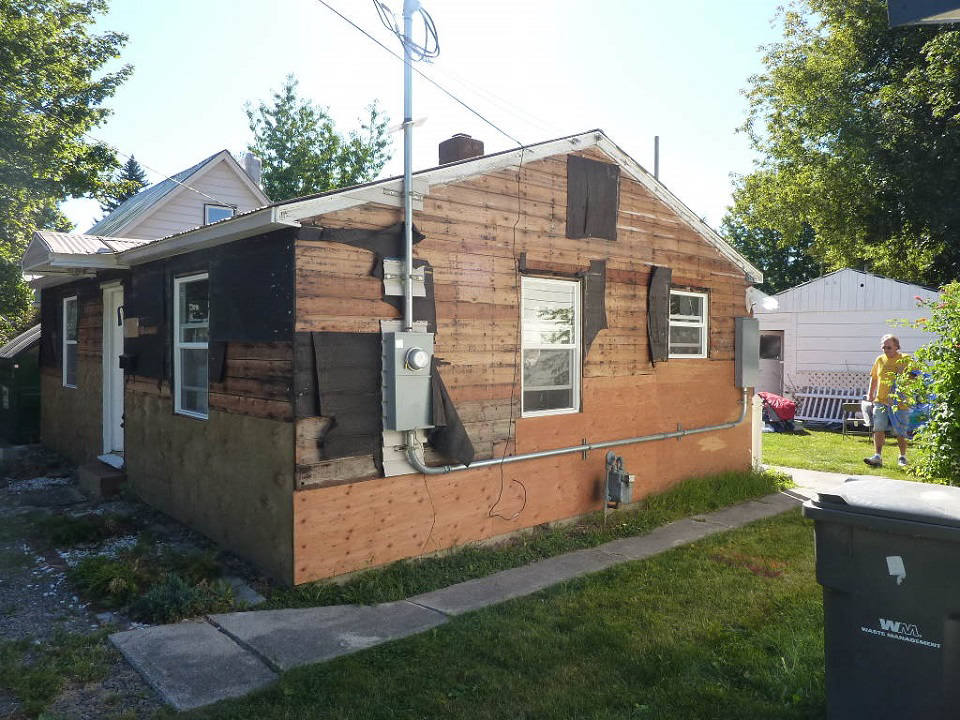
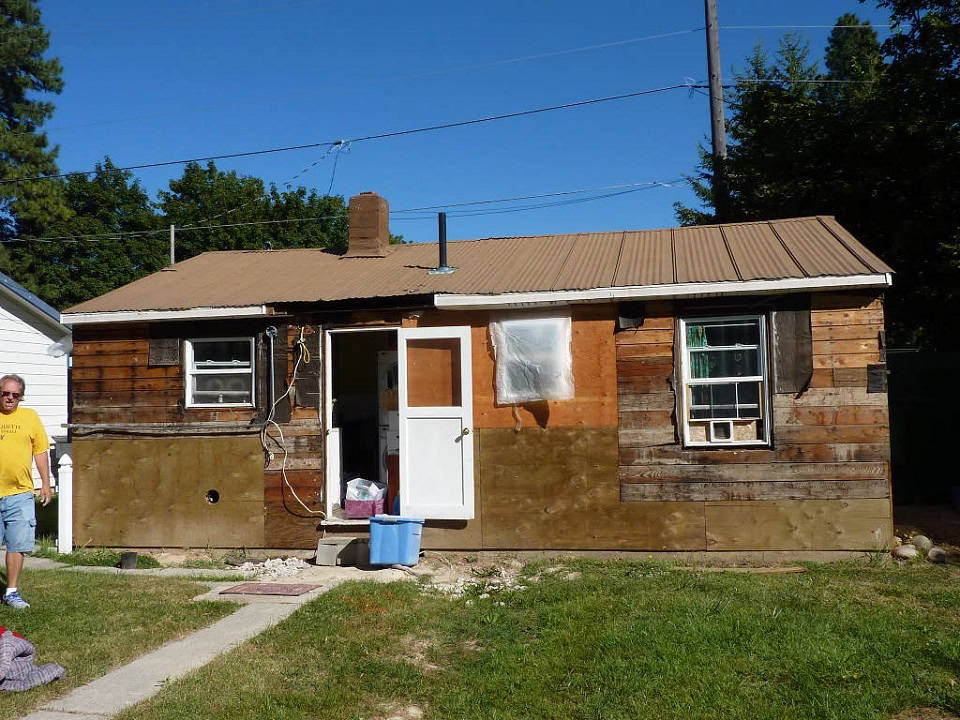
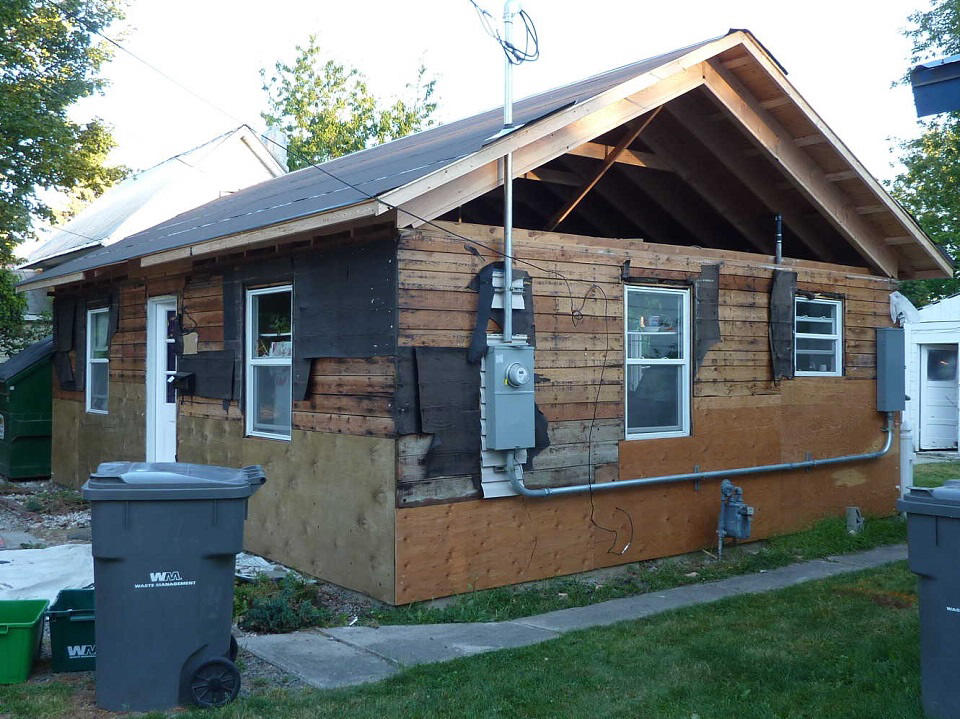
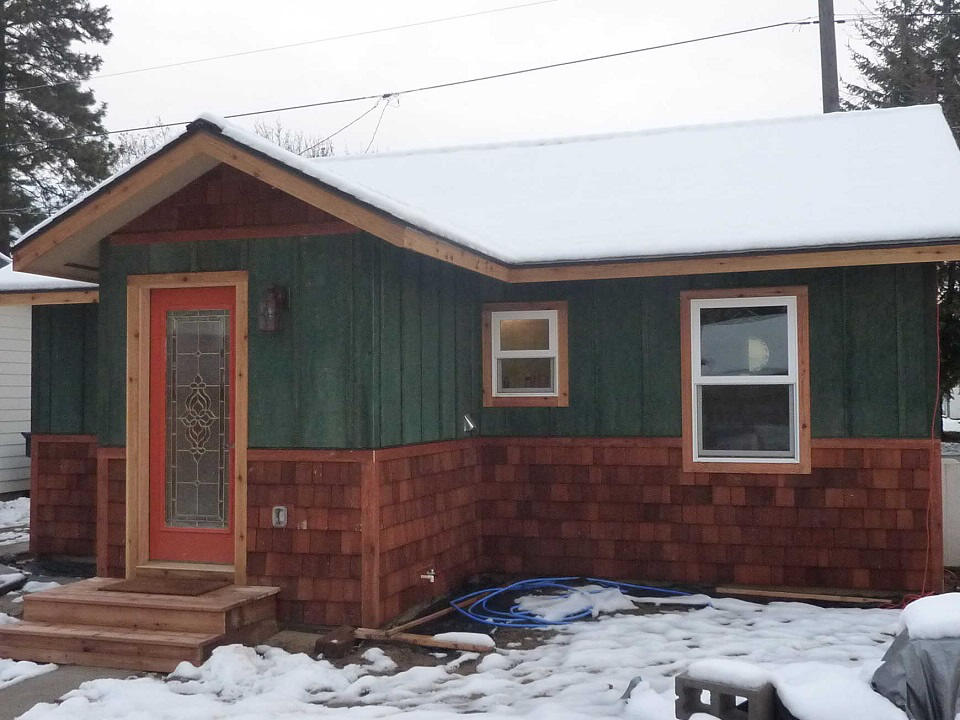
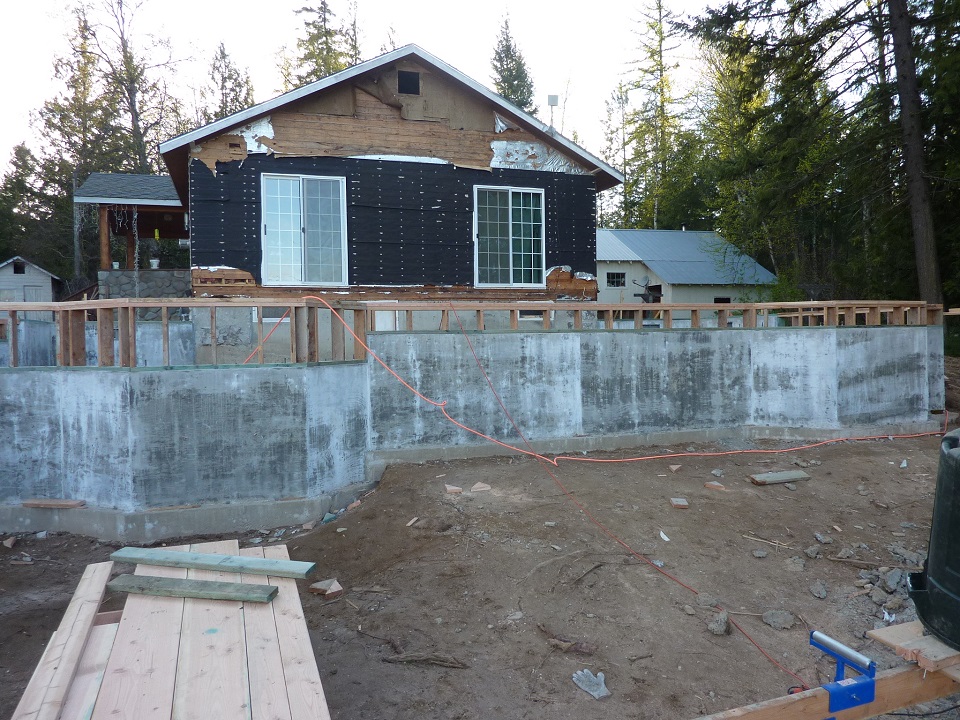
Sandpoint Home RemodelSometimes you show up at a potential job and wonder if it is something that can be worked with. This home was a prime example. Besides being small and built too close to grade, the major problem that it had was a lack of roof overhangs. Without a vapor barrier on the crawlspace floor, and with no overhangs, there was extensive rot to the framing of this home caused by moisture and water over the years. Believe it or not, we were able to build a budget that would completely rebuild the rot, put a new roof structure and mudroom on the home and fit out an artist's studio in the backyard for far less than complete demolition and rebuild. The owner had acquired this property in foreclosure, and with the good purchase price, the value of the land and utility hook-ups already meant the owner had value in the property. The key was to make it cute and eminently livable. Here is the home before the remodel:
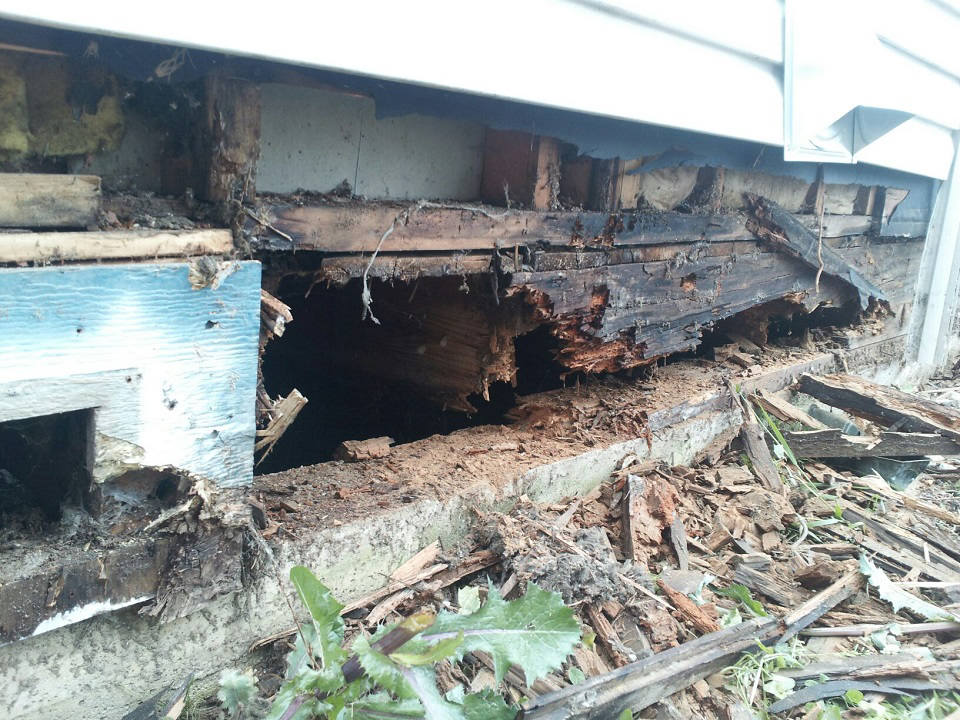
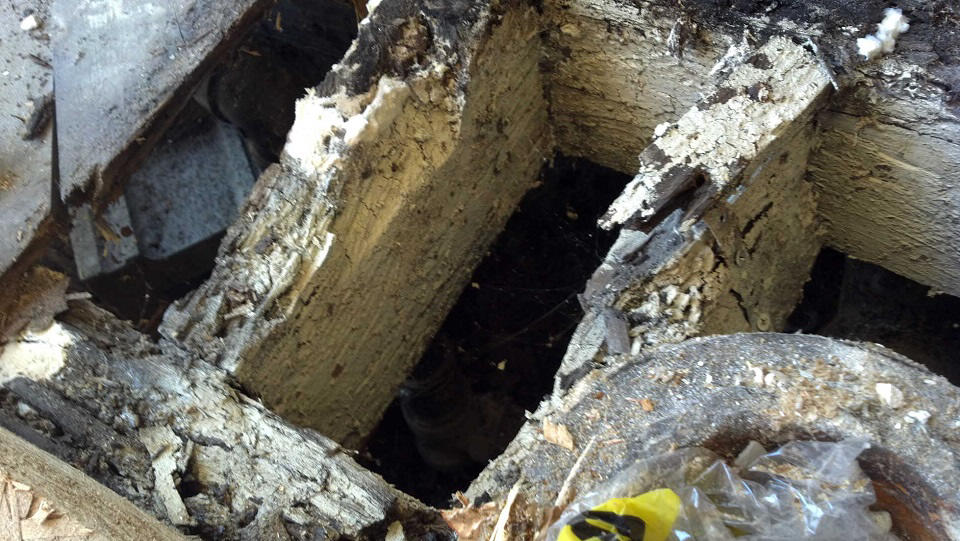
The major discovery upon demolition was the completely rotten mudsill, rim joist, and even the rot of some of the wall plates and bottom ends of the studs. Also, in one corner of the house, the floor joists extending well into one of the bedrooms needed to be replaced along with the subfloor.
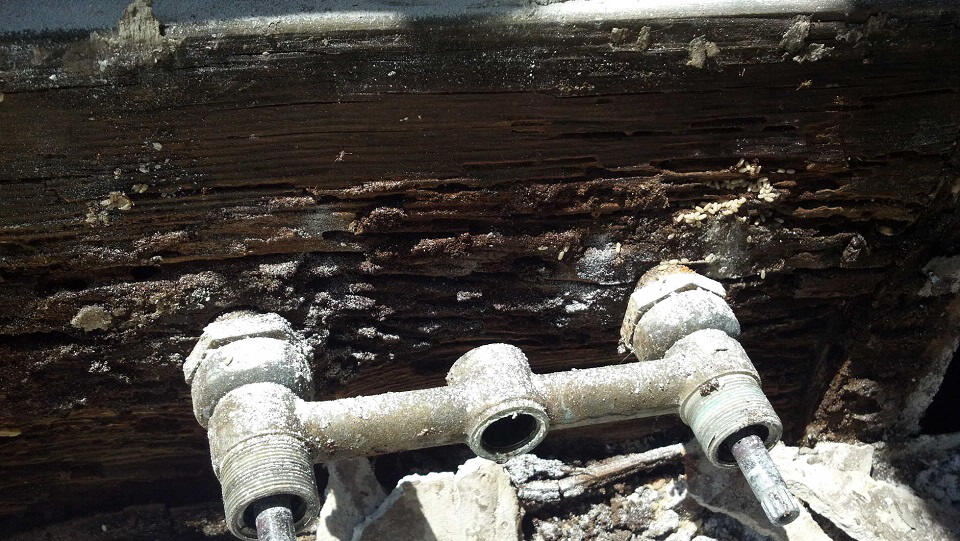
These are the valves for the tub filler. Note the completely rotten wood.
The toilet had seepage for years, and look at the molds and the wood of the subfloor around the toilet.
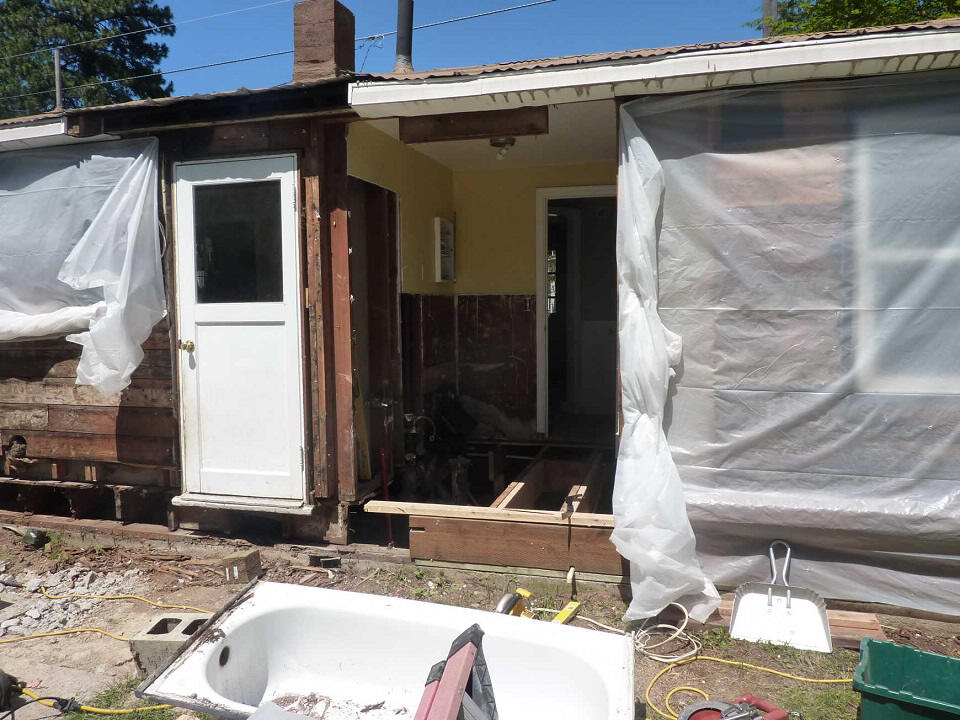
There was a window above the tub on this wall. After years of leaking around the window, the molds, rot and mushrooms growing in the structure were too much. They were removed:
We used some treated framing and even treated plywood for the shear wall, since we would not be correcting the too close to grade problem.
This wall is what can happen when you hire an electrician to do a new service drop. I call it the industrial look - panels and conduit on the exterior of the home. We corrected this as part of the remodel:
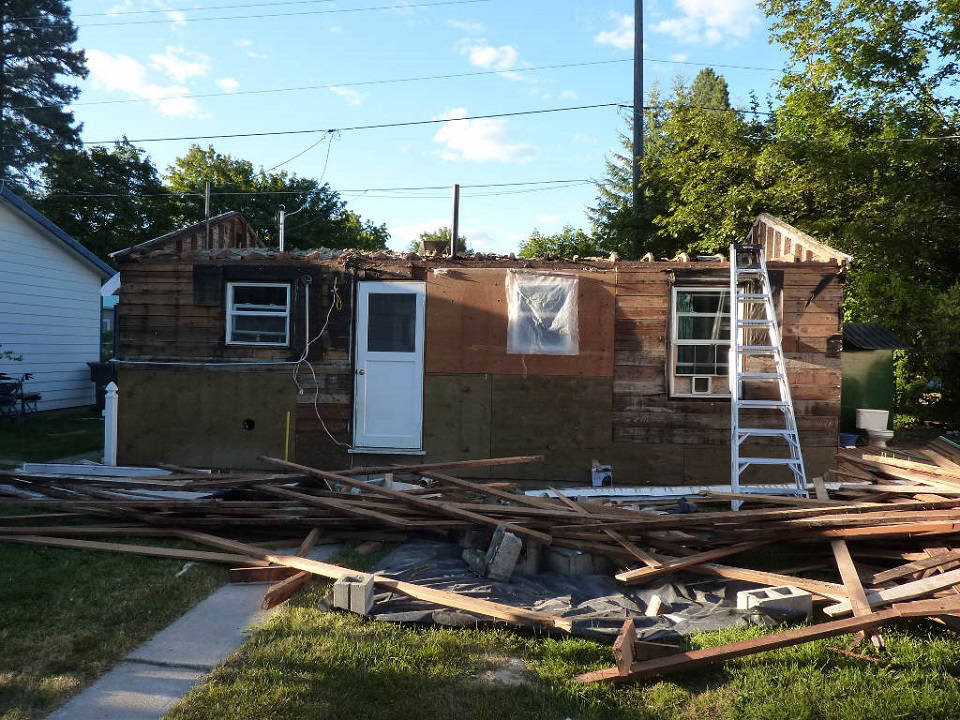
The back of the house before we commence tearing off the entire roof structure, which was a 4/12 pitch with no overhangs:
Now the vulnerable part - tear off the roof while the owner is living in the house and hope it does not rain (it did!):
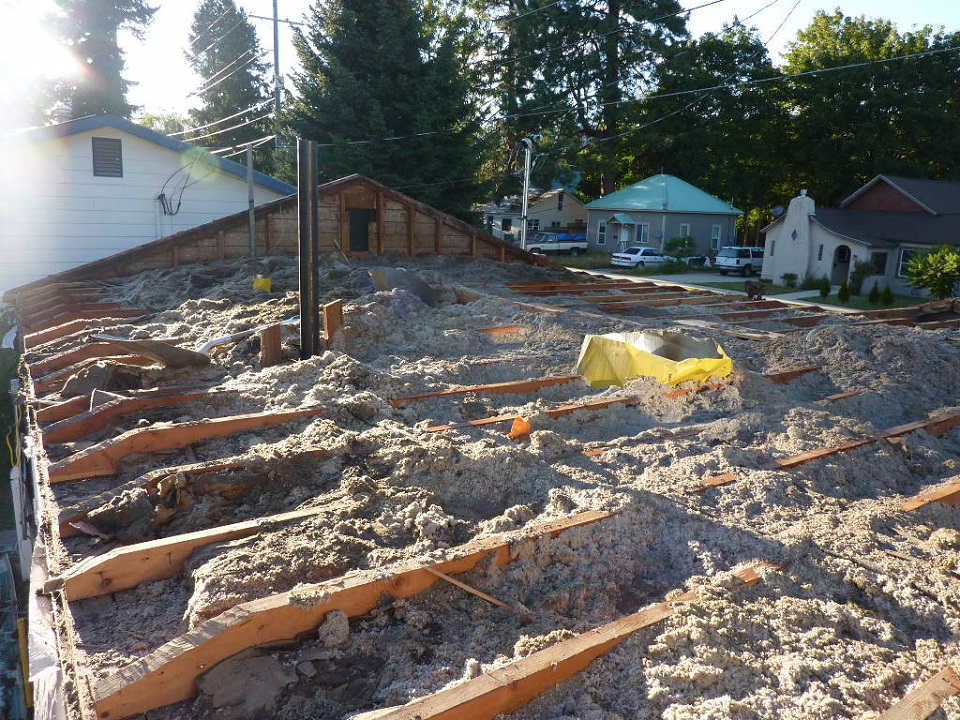
We removed the old insulation and replaced it later with R50 cellulose (We bagged the insulation and gave it away via Craigslist - recycling at its best). When we reframe the roof, we are raising the heels at the plates - what is called a raised energy heel, so that we can get plenty of insulation out over the exterior wall plates:
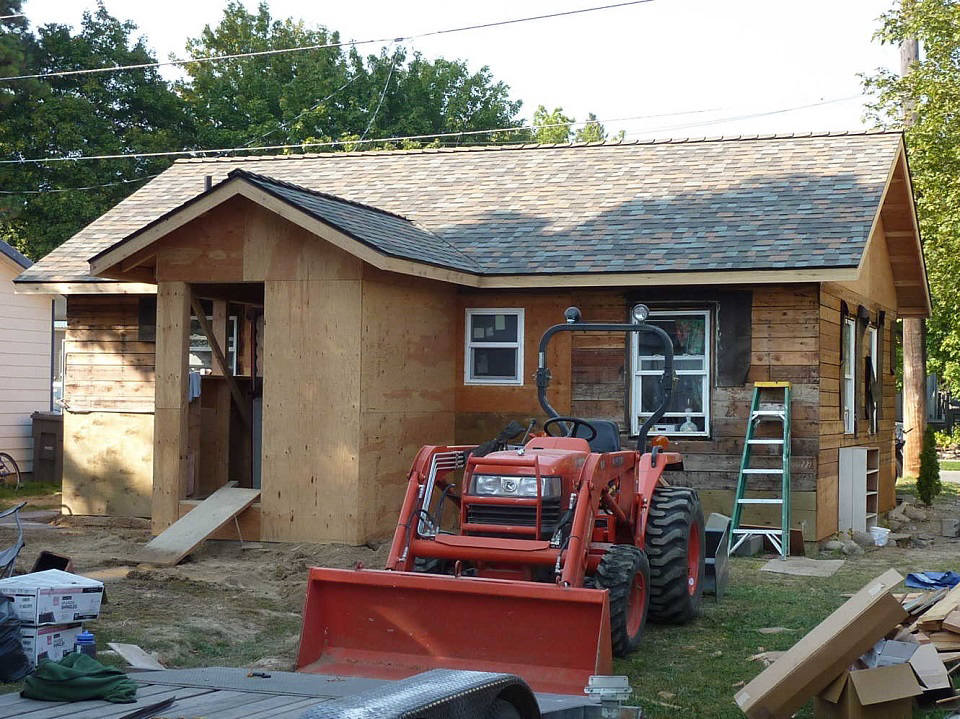
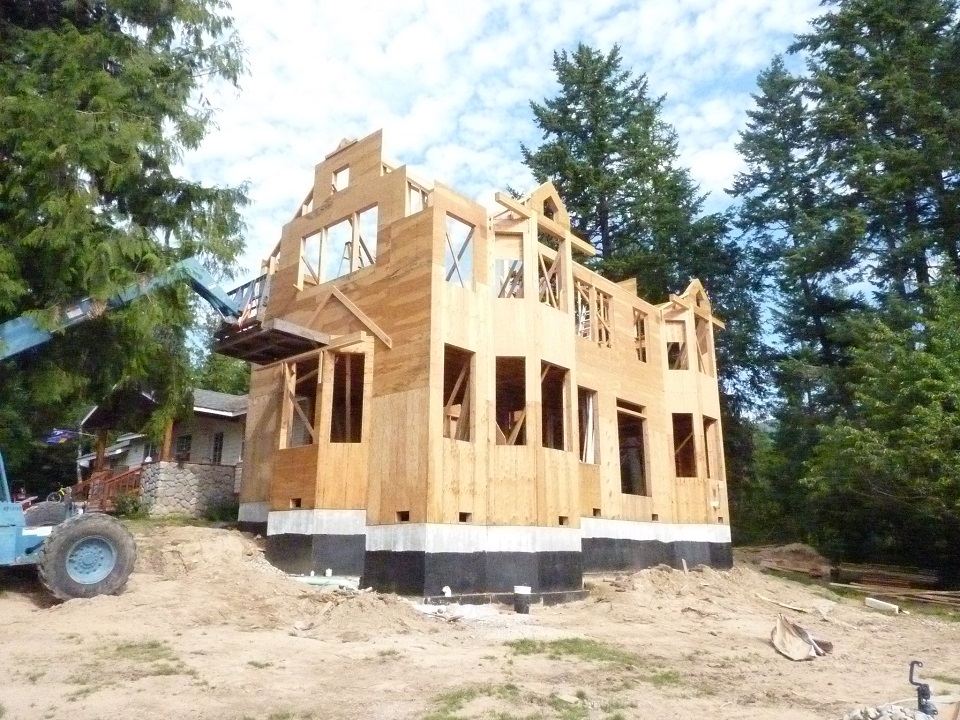
Here is the reframed rood structure with overhangs on the gable ends and the eaves. We changed the pitch to 6/12, since in our design software, it was pleasing to the eye:
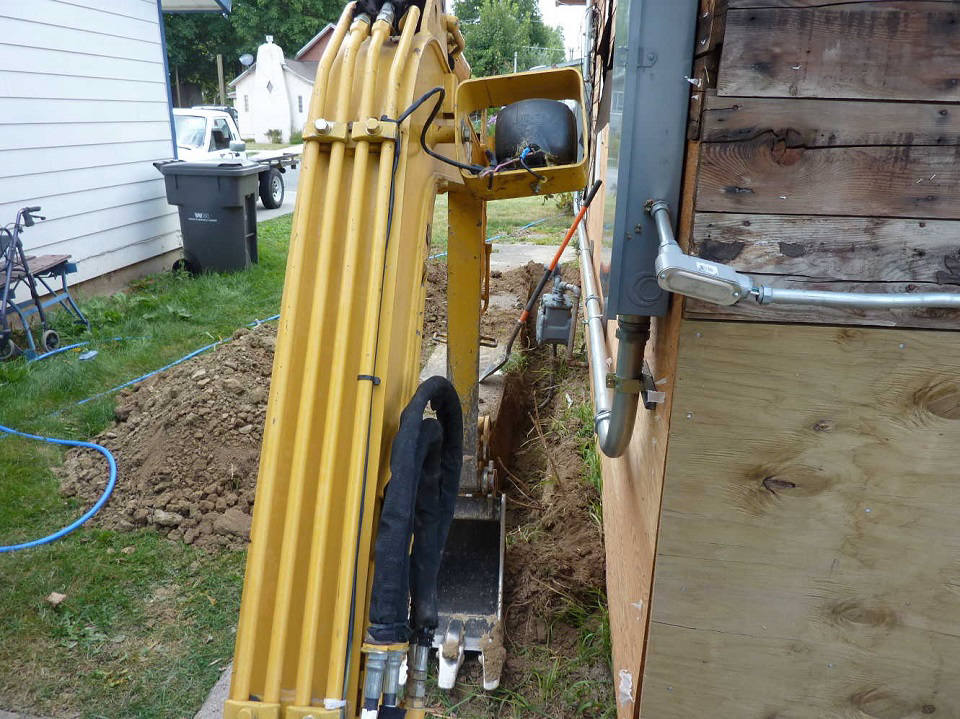
Digging for the new cable from the meter to the main panel. We are de-industrializing the look of the electrical system:
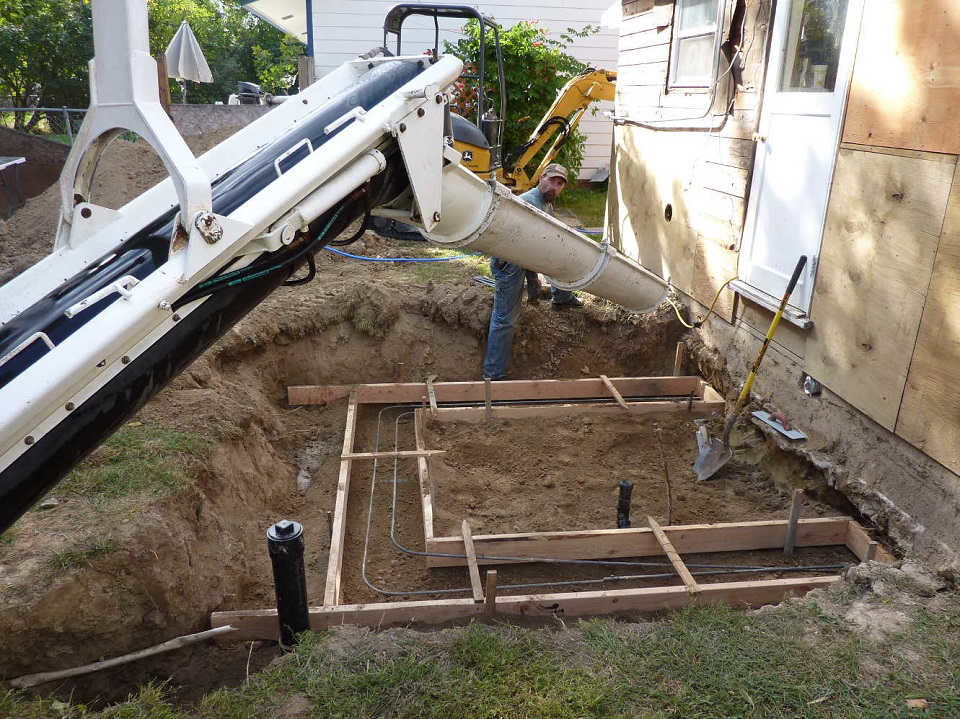
Pouring a foundation for the new mudroom/laundry room:
A beautiful new shingle roof. We are getting ready to add all new windows and housewrap:
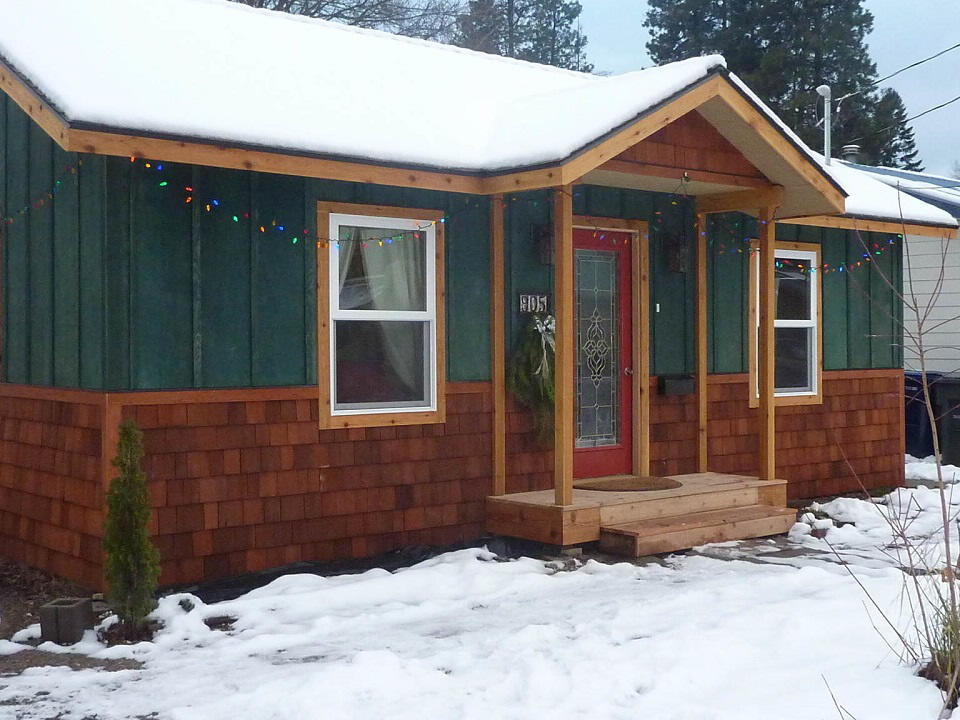
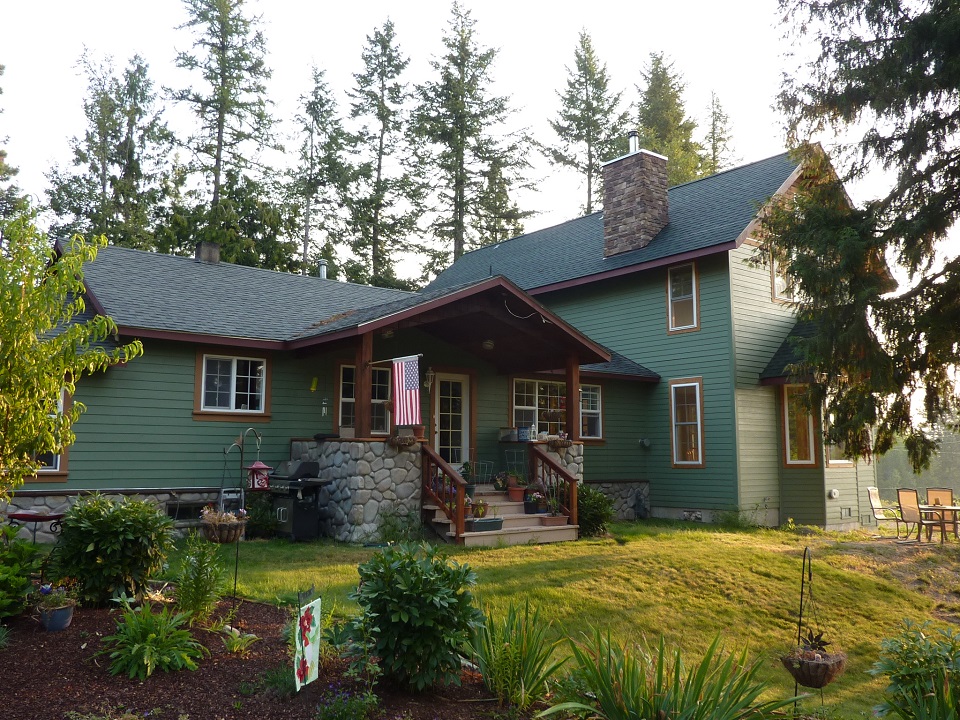
And here is the finished home:
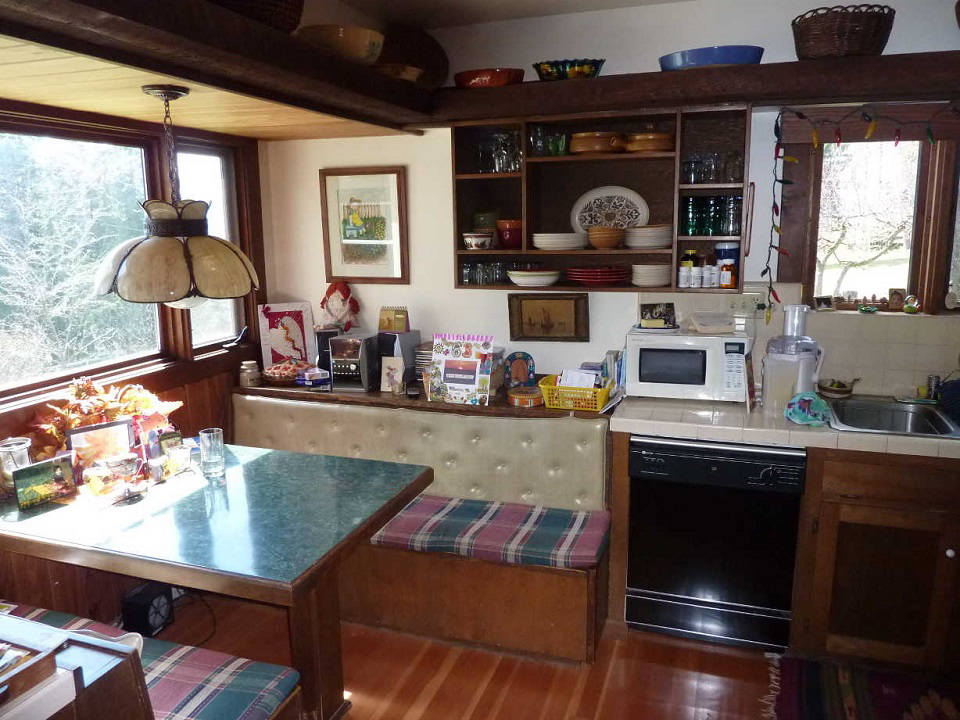
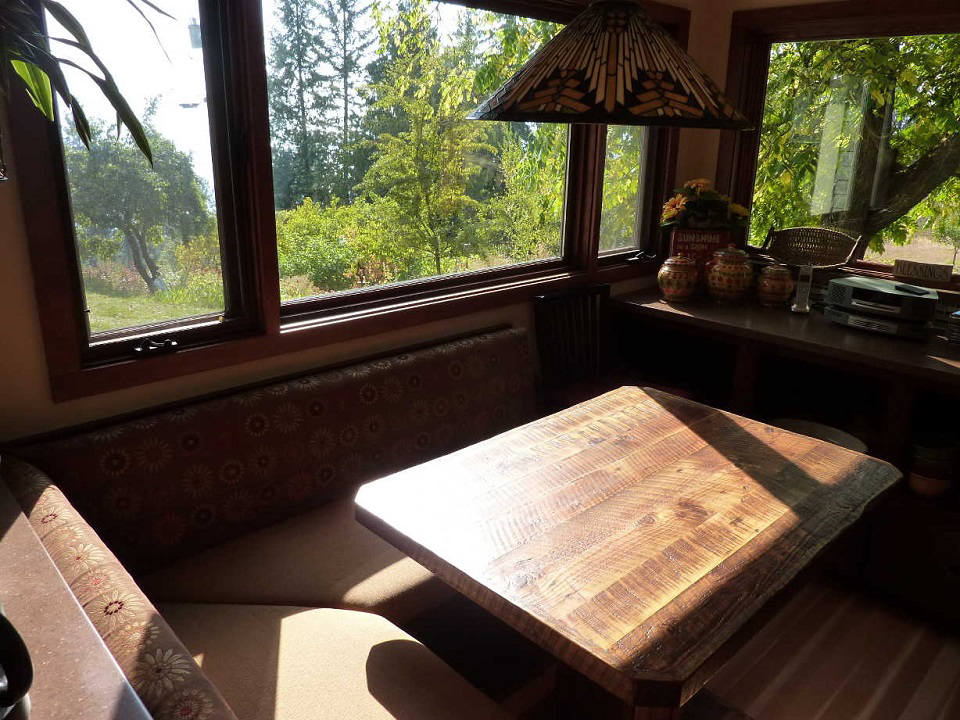
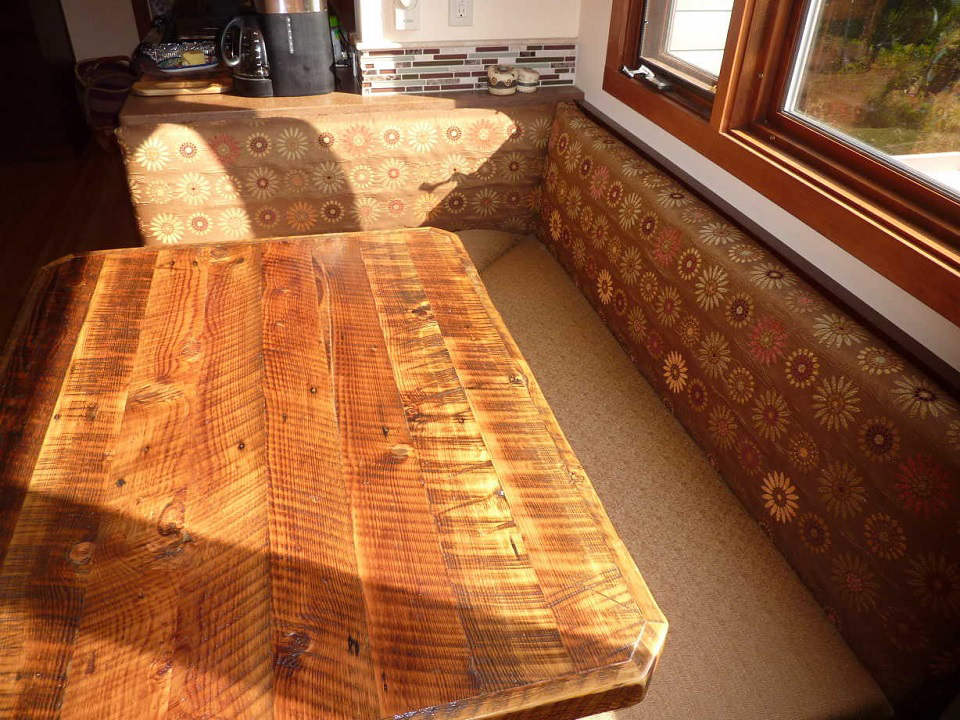
Total Kitchen Makeover in Hope, IdahoWe had the opportunity to completely remodel this kitchen in Hope, Idaho. The original kitchen was designed and built in the early 1970's. We used our home design software from Chief Architect to layout a new kitchen within the existing space. We also completely opened up the floor plan by raising a beam and removing a wall that separated the kitchen from the dining room. Let's walk through some of the changes. In the old kitchen, there was one nice window with a view of Lake Pend Oreille, but the glass seals were blown, and it was fogged. We replaced the window glass and redesigned the floor layout and the booth. Additionally, there was a low ceiling/soffit over the booth, which we removed and raised the ceiling height, giving a modern feel of space. Here is the before photo of the booth area:
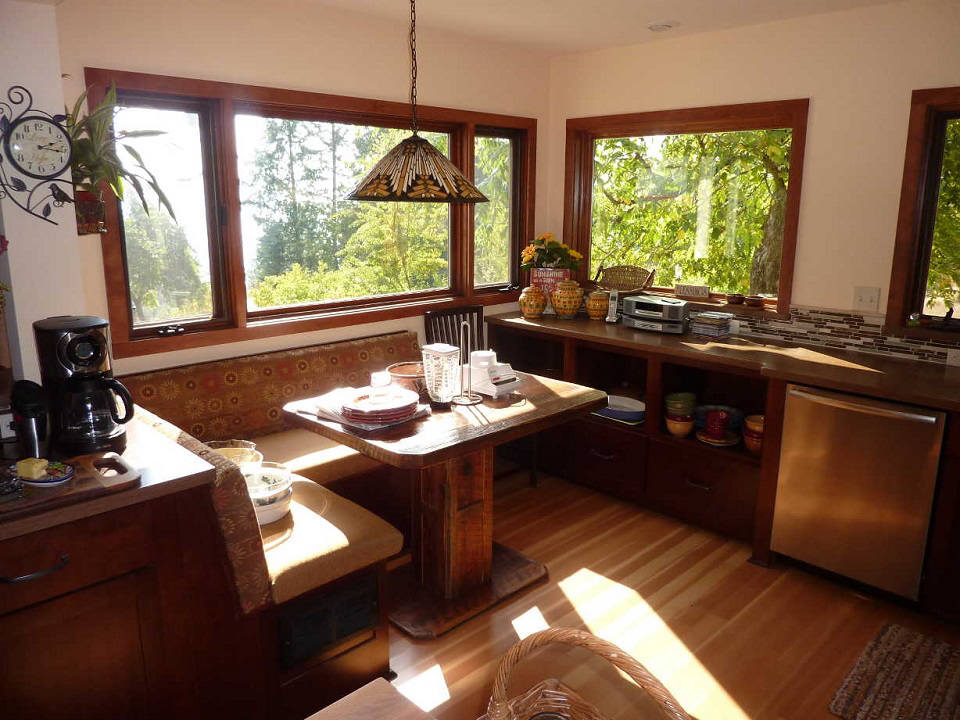
We added a large picture window on the west wall and installed Corian countertops and new cabinets by Omega. We built a new custom booth with cushions and table. Here are the results:
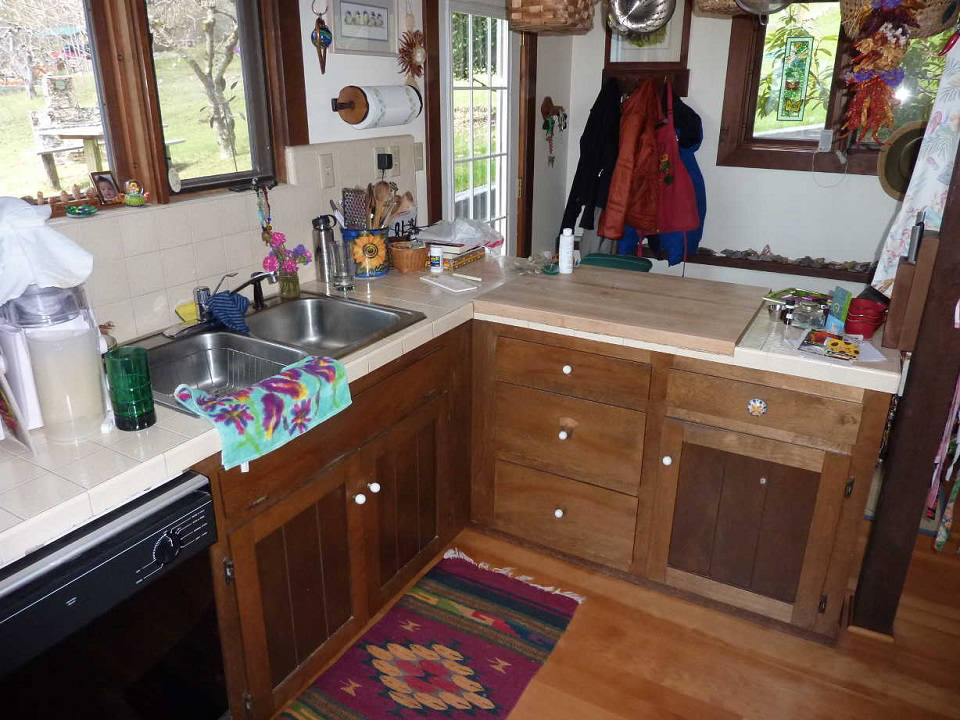
Before the remodel, there was a small window behind the sink and tile on the countertops:
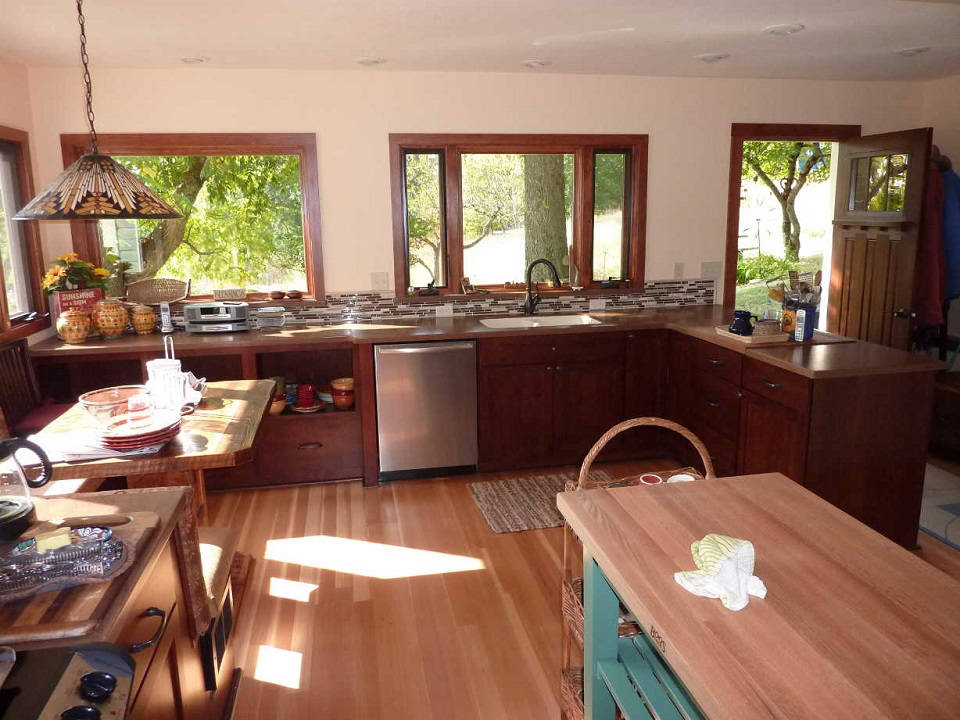
We added a larger window behind the sink, a new tile backsplash, Corian countertops and integrated sink, and here are the results:
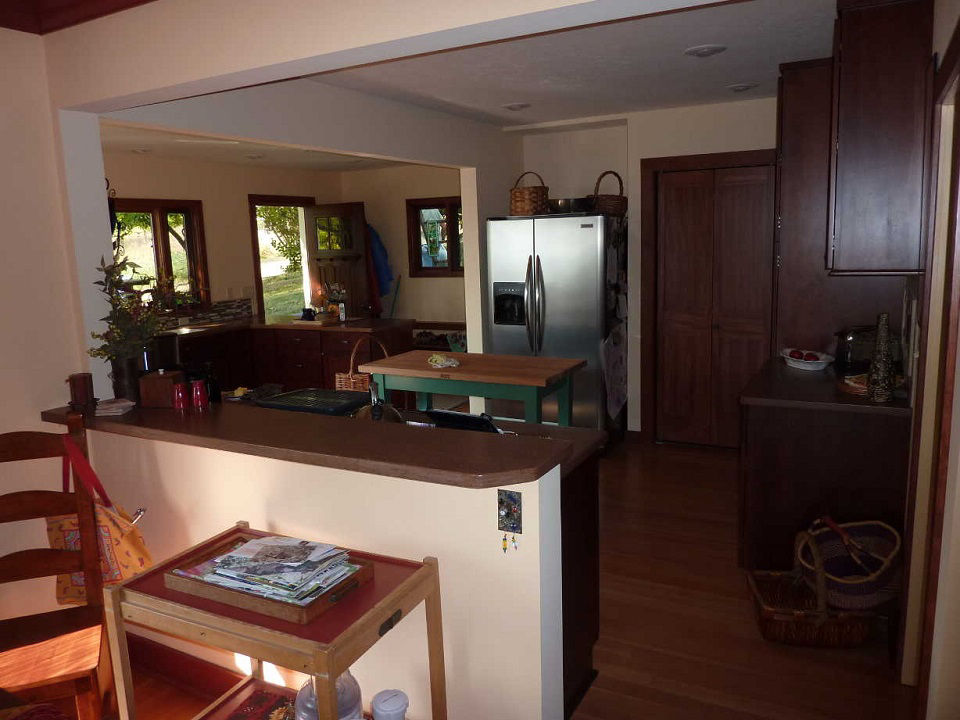
A perspective on the whole new kitchen facing the south wall. Note, there is even a new entry door:
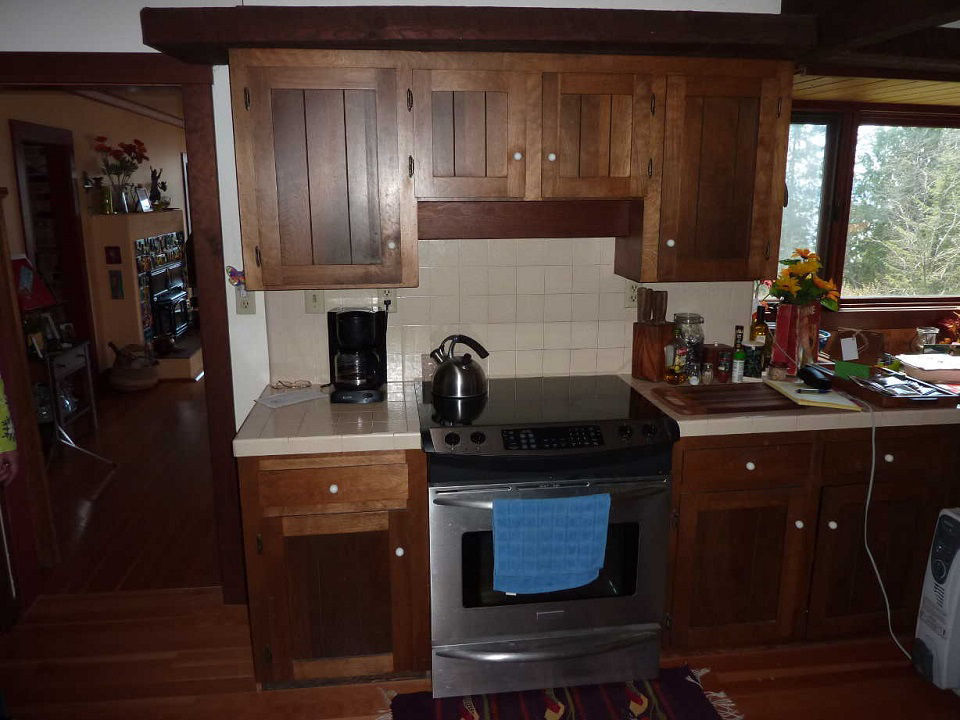
A major change was to open up the wall behind the range to the dining room. This really opened up the light and gave a great sense of open space while still leaving counter and bar countertop to define the space. Here is the before photo:
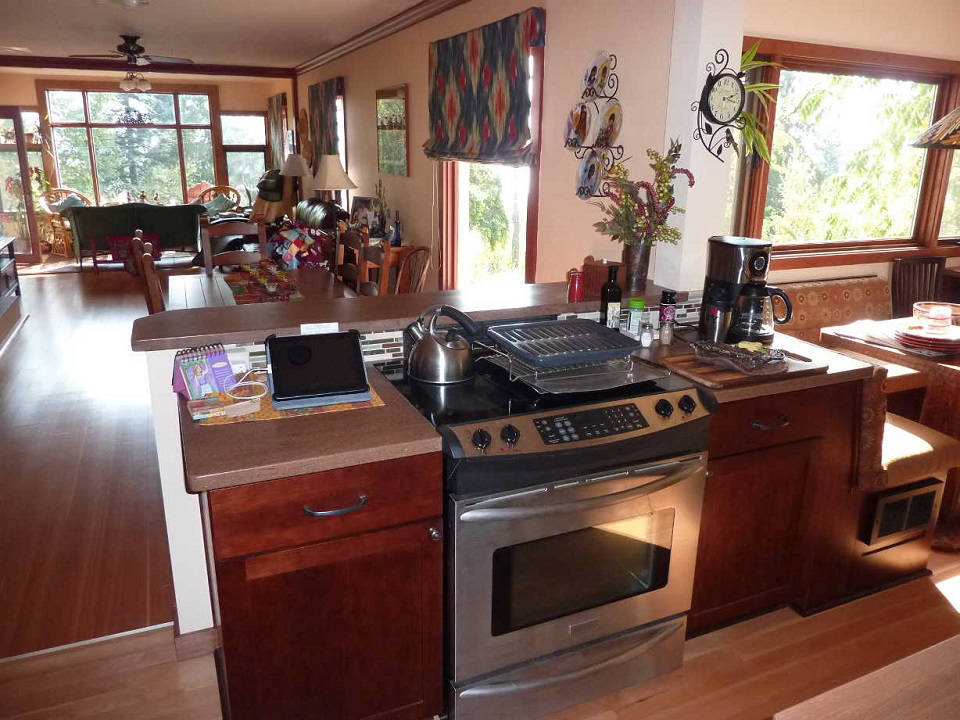
Following is the result of the remodel. We used an inline exhaust fan by Fantech to create a custom range exhaust int he backsplash. It's got some real power:
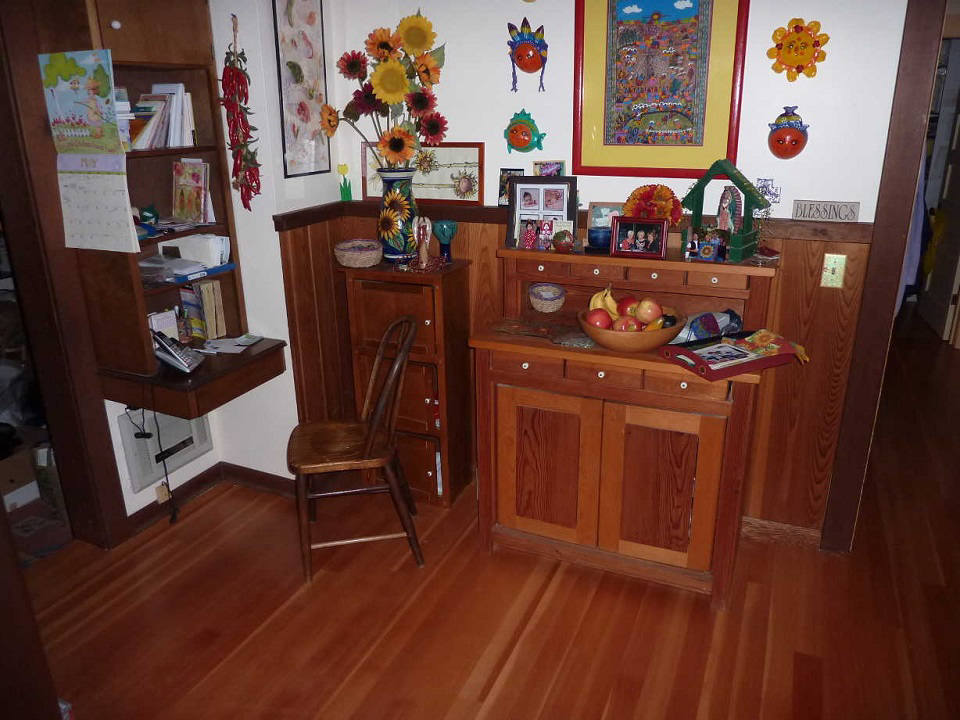
Finally, there was a major change to the inside wall, adding a major amount of storage space in the pantry cabinets. Before:
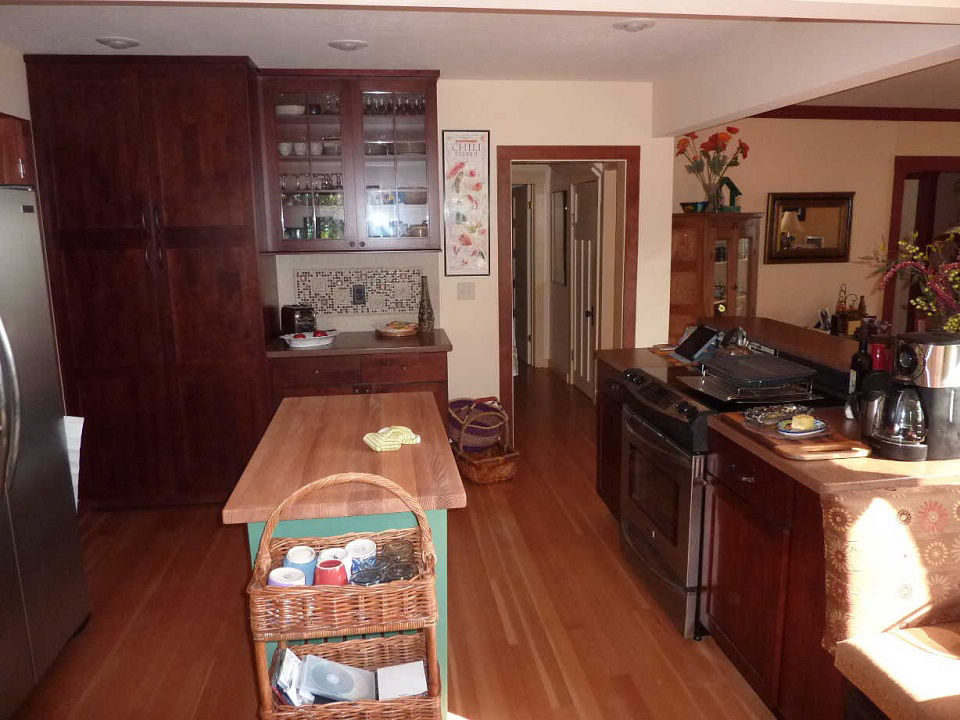
And, the inside wall after:
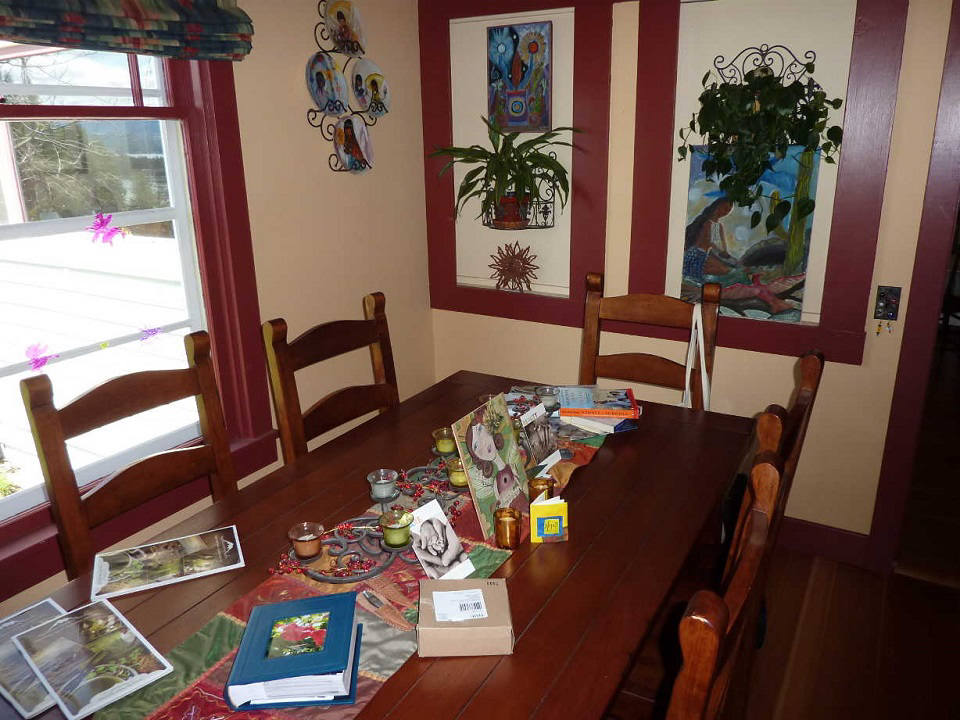
One more perspective - the dining room looking toward the kitchen before the remodel:
And, the result after the remodel:
|
.JPG)
.JPG)